Best RO Systems
HomeGuidesTroubleshooting leaks and noises
Troubleshooting

RO Troubleshooting: Leaks, Gurgles and the Faucet That Never Stops

We're reader-supported: buying through our links may earn us a commission at no extra cost to you. We compare published specifications, certifications and prices — we don't run a testing lab.

Under-sink reverse osmosis system with cabinet doors open, showing filter housings, tubing and a puddle being checked for the source of a leak

Almost every reverse osmosis complaint reaches us in the same shape: something is wrong under the sink, and the instinct is to start replacing parts until it stops. That is the expensive way to fix an RO system, because the parts most people reach for first — a new membrane, a whole new tank, a full filter set — are rarely the actual problem. A stuck check valve, a loose push-fit fitting and a genuinely dying membrane can produce symptoms that look identical from the kitchen, and only one of those three costs more than fifteen dollars to fix.

This page works through nine symptoms in the order we'd actually check them in: cheapest and most likely first, most expensive and least likely last. If you fix something on this list and the problem persists, that is useful information too — it rules a cause out and tells you where to look next, instead of leaving you holding a $50 membrane that was never the issue.

The order to check things in, and why

There is a reason plumbers and RO manufacturers' support lines default to the same sequence, and it isn't laziness — it's base rates. Loose fittings and worn O-rings fail constantly, because they are the parts under the most mechanical stress every time the system pressurizes and depressurizes. Membranes fail rarely, because they have no moving parts and are protected by everything upstream of them. Checking in the wrong order means you're most likely to spend money on the part least likely to be broken.

  1. Fittings and connections — tighten or reseat first. Cost: free. Fixes the majority of leaks.
  2. O-rings and housing seals — inspect for a pinch, a twist or visible wear. Cost: a few dollars if a spare is on hand, otherwise the price of a filter set that includes them.
  3. The check valve and the ASO valve — the two small parts that control drain flow and tank fill. Cost: under $15 each, widely available.
  4. The pressure tank's air charge — a bicycle-pump-and-gauge job, not a purchase.
  5. Filter cartridges on schedule — cheap, routine, and the most commonly neglected cause of a slow or bad-tasting faucet.
  6. The membrane — check last, because it is both the most expensive part and the one most protected from failure by everything ahead of it in the sequence.

Work down that list and stop as soon as the symptom resolves. Skipping to the bottom because a symptom "sounds serious" is how a $12 check valve turns into a $200 system replacement that didn't need to happen.

Water under the cabinet: the four usual sources

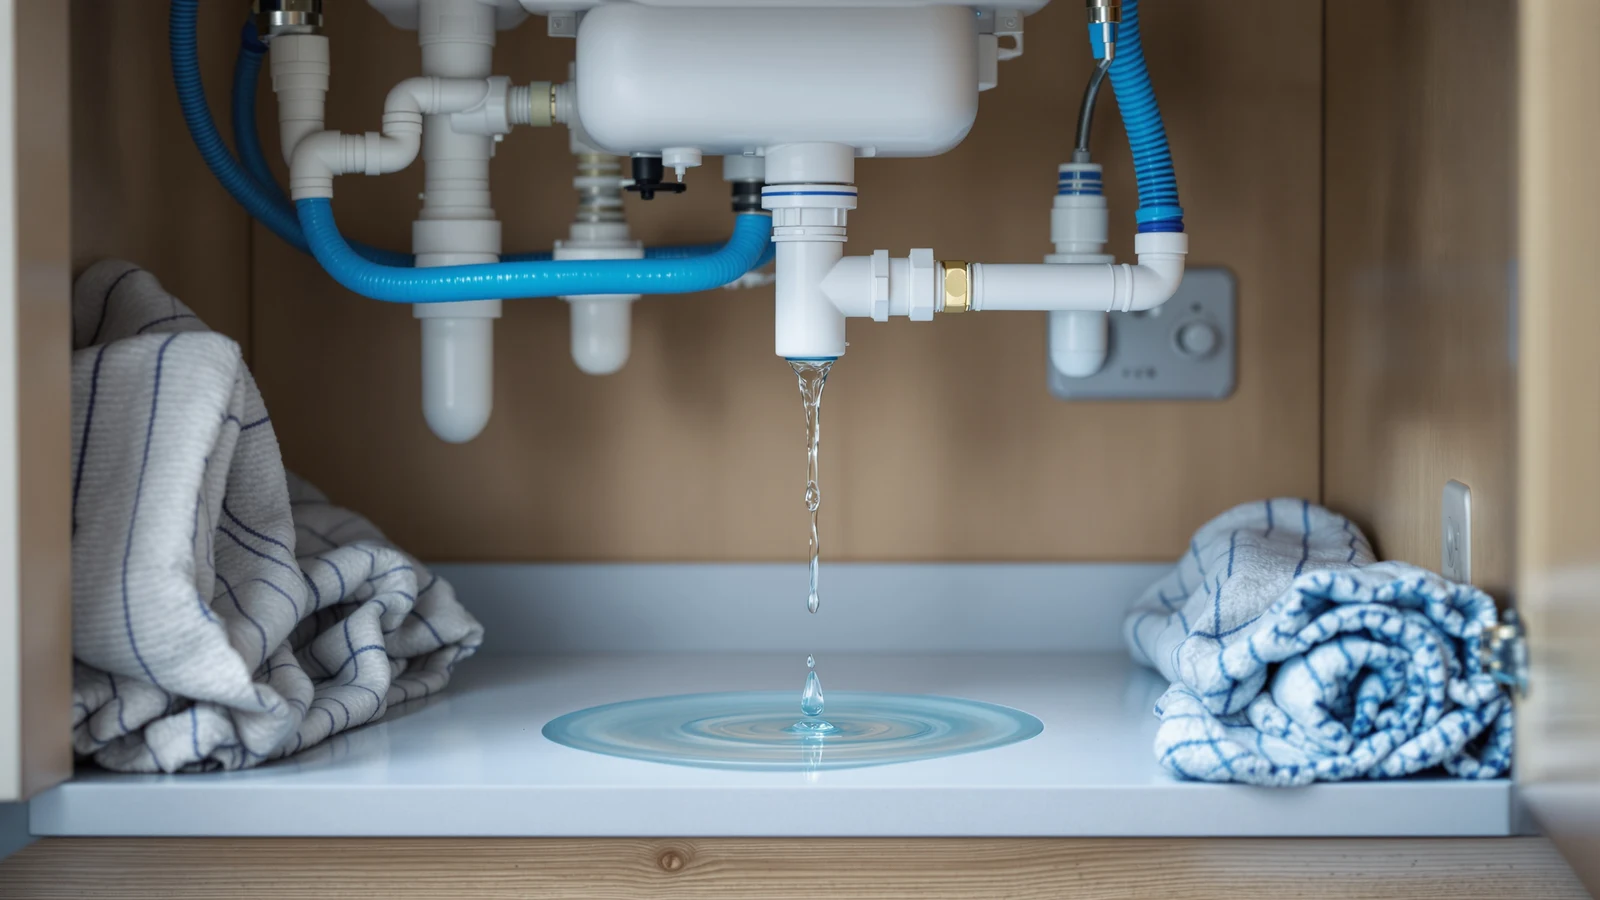
A puddle under the sink is the single most common RO complaint, and it has almost always got one of four sources. Dry the cabinet floor completely, lay paper towels under each suspect area, run the system for a few minutes, and check which towel is wet first — that tells you more than staring at standing water ever will.

1. A push-fit fitting that was never fully seated

RO systems use quick-connect push-fit fittings almost everywhere — tubing pushes into a collet, a gripper ring bites the outside of the tube, and an O-ring inside the fitting seals it. This is the single most common leak source on any RO system, and it is nearly always caused by one of three things: the tube wasn't pushed in far enough to seat past the O-ring, the tube end wasn't cut square, or the tube has a scratch or gouge running along it from a bad prior cut. Push the tube in firmly until it stops, then tug gently to confirm it's gripped. If a fitting keeps weeping after reseating, cut half an inch off the tube with a fresh, square cut and reinsert — a scored tube will never seal against the O-ring no matter how hard you push it.

2. A filter housing that wasn't torqued evenly, or a swapped O-ring

Standard 10"×2.5" housings — the kind used on systems like the APEC ROES-PH75 and the iSpring RCC7AK-BN — seal with a large O-ring at the top of the canister. After a filter change, a leak here usually means the housing wasn't tightened evenly (most are hand-tight plus a quarter turn with the supplied wrench, not more), the O-ring wasn't seated fully in its groove before closing, or the O-ring itself is pinched, twisted or missing a light coat of food-grade silicone grease. Reopen the housing, check that the O-ring sits flush all the way around with no visible twist, add a thin film of grease if it looks dry, and close it evenly by hand before using the wrench for the final quarter-turn.

3. The feed valve or the saddle valve at the cold-water line

This is where the system taps into your home's plumbing, and it's a compression or self-piercing fitting under constant line pressure, not RO system pressure. A weep here after months of no issue is usually the compression nut backing off slightly, or — on a saddle valve — the rubber gasket compressing over time. Tighten the compression nut a partial turn and check again; if it's the saddle valve gasket, that's a part swap, not a wrench job.

4. The drain saddle at the waste pipe

The saddle clamps onto your drain pipe and a small tube carries reject water into it. Leaks here show up as water on the cabinet floor near the drain pipe rather than near the system itself, and the fix is almost always re-tightening the saddle's screws evenly on both sides, or confirming the hole drilled into the drain pipe lines up cleanly with the saddle's opening — an off-center hole lets water track along the outside of the pipe instead of draining into it.

One diagnostic habit worth adopting permanently: keep a folded towel under the housings at all times. It turns a slow weep you'd otherwise discover as a swollen cabinet floor two weeks later into something you notice the same day.
Continuous drain flow: the check valve, the ASO valve, and a stuck membrane

Some drain flow during operation is normal — that's the mechanism, not a fault. The problem worth chasing is a drain line that keeps running steadily after the storage tank is full and the faucet is closed. Three components can cause this, roughly in order of likelihood.

The check valve

Tank-style systems have a check valve positioned after the membrane, and its job is to stop pressurized water in the tank from flowing backward through the membrane and out to drain once the tank is full. When a check valve sticks open — usually from a bit of sediment lodged in the seat, or a worn seal — tank pressure pushes water continuously across the membrane and down the drain, and it will keep doing that indefinitely even with the faucet shut. This is the single most common cause of a drain line that won't stop running. Check valves are inexpensive, install inline, and are worth replacing on suspicion alone if the system is more than a couple of years old — they're not a serviceable part, just a swap.

The ASO (automatic shut-off) valve

The ASO valve is a tank-pressure-sensing valve that stops feed water from flowing to the membrane once the storage tank reaches roughly two-thirds of the home's incoming line pressure — the point at which further production would be too slow to be worth the water. If the ASO valve fails to sense a full tank, the system keeps producing water — and sending the reject portion to drain — well past the point it should have stopped. A failed ASO valve is diagnosed by checking the tank's air pre-charge first (see the slow-faucet section below), because a tank with a collapsed air charge never reaches the pressure the ASO valve is waiting for, and looks exactly like a bad ASO valve until you rule that out.

A membrane that's fouled past the point of rejecting properly

This is the least common cause and the one to check last. A badly fouled membrane can lose enough rejection efficiency that the system essentially can't tell "clean enough" from "still working," and some designs respond by running longer to compensate. If the check valve and ASO valve both test fine and the drain still won't stop, take a TDS reading at the faucet and compare it to feed water — see what the TDS number actually means for how to turn that reading into a rejection percentage rather than an isolated figure. A membrane whose rejection has fallen well below its rated range, on a system like the iSpring RCC7AK-BN or the APEC ROES-PH75, is the remaining explanation, and at that point a replacement membrane is the correct fix rather than a guess.

Gurgling and air noises after a filter change: usually normal

This is the symptom that generates the most unnecessary panic, because it sounds like something failing when it's almost always just physics. Every time a housing is opened for a filter change, air enters the system. That air has to go somewhere, and "somewhere" is through the tubing, into the tank, and eventually out through the faucet or the drain line — and air moving through water-filled tubing gurgles.

Expect gurgling, hissing or intermittent air-spitting from the faucet for the first several tank-fill cycles after any filter change or system reinstall. Draw a full glass, let the tank refill, draw another, and repeat — each cycle purges more trapped air, and the noise fades over roughly the first day of normal use. This is standard behavior after reinstalling housings on systems like the APEC ROES-PH75 or the iSpring RCC7AK-BN, and it is not a sign that something was installed wrong.

Where it's worth a second look: gurgling that hasn't faded after several days of normal use, or that starts up on a system nobody has touched in months. Persistent gurgling with no recent filter change usually points to one of two things — a slow air leak on the intake side of a fitting (air is being drawn in continuously rather than purged once), or a nearly empty pressure tank pulling air through the last of its water because the air charge has failed and the bladder has collapsed. The fitting check from the leaks section above and the tank-charge check below cover both.

Slow faucet: pressure, tank charge, or a spent membrane

A faucet that used to fill a glass in seconds and now trickles has three realistic causes, and — usefully — they're diagnosable in an order that goes cheapest first again.

Incoming water pressure

RO systems need a minimum feed pressure to work at their rated output — the APEC ROES-PH75, for example, specifies 40 to 85 psi. Anything below that range slows production system-wide, and it's rarely the RO system's fault: a partially closed feed valve, a water softener or whole-house filter with its own pressure drop, or genuinely low municipal pressure can all be the actual cause. A cheap inline pressure gauge at the feed valve settles this in under a minute and costs less than any part on this page — our guide to pressure and flow rate goes deeper into how GPD ratings translate to actual output at your specific pressure.

The pressure tank's air charge

This is the most overlooked cause of a slow faucet, and it's the one people skip straight past on their way to blaming the membrane. A standard RO storage tank has two chambers separated by a rubber bladder: water on one side, compressed air on the other. The air side is what pushes stored water out to the faucet with any real force — an RO tank has no pump of its own. That air charge is supposed to sit at around 7 psi empty, and it bleeds down slowly over a year or two just from normal use. A tank with a low or collapsed air charge still fills with water at the same rate, so it doesn't look empty — but it delivers that water to the faucet as a weak trickle instead of a steady stream, because there's no air pressure left to push it out.

Checking it takes five minutes: with the tank empty (draw water from the faucet until it stops), use a standard tire gauge on the Schrader valve, usually on the underside of the tank. Around 7 psi with the tank empty is normal; noticeably lower means topping it up with a bicycle pump or a compressor set low, a few pounds at a time, rechecking as you go. This is a five-minute, zero-cost fix that resolves a large share of "my faucet got slow" complaints without touching a single filter or the membrane.

A spent membrane

Only after pressure and tank charge check out should the membrane become the suspect. A membrane loses permeability as it fouls, and the system simply produces water more slowly — it's typically a two-to-three-year part, and the fouling accelerates with hard water, high feed TDS, or a neglected pre-filter that let chlorine and sediment reach it early. A TDS check (feed versus product, computed as a rejection percentage) is the way to confirm it rather than guess: a membrane that once held in the low-to-mid nineties and has drifted well below its published range, alongside a genuinely slow fill, is the point where the membrane itself — not the tank, not the pressure, not the filters — is the answer.

Bad taste or smell returning: the post-carbon stage and stagnation

Taste and odor complaints on an RO system point at two different causes depending on when they show up. If the water tasted fine right after a filter change and has been sliding since, that's the post-carbon (also called the "inline" or "polish") filter exhausting — it's the last stage before the faucet, and it's specifically there to strip any residual taste from water that's been sitting in the tank. Carbon doesn't clog when it exhausts; it just stops adsorbing, silently, so taste is genuinely the correct signal for this particular stage rather than a symptom to distrust. Replacing the post-carbon cartridge on its normal schedule — typically alongside the other filters, on systems like the APEC ROES-PH75 or the iSpring RCC7AK-BN — resolves this in one change.

If the water tastes stale or faintly "off" rather than chemically wrong, and especially if the system has sat unused for a week or more — a vacation, a slow winter, a rental between tenants — the more likely cause is stagnation rather than a spent filter. Water sitting motionless in the tank and tubing for days picks up a flat taste even with fresh filters installed, simply from lack of turnover. The fix is to draw and discard several full glasses in a row to flush the tank with fresh product water before drinking it normally again. A system that's sat idle for a month or more should also be sanitized before returning to regular use — the sanitizing routine covers what that involves and why it matters more after a filter change than most owners expect.

A returning chlorine taste specifically — rather than a generic staleness — is worth taking more seriously than the others, because it means the carbon stages ahead of the membrane may also be exhausted, and free chlorine reaching the membrane is what shortens its life. If chlorine taste and a slow faucet show up together, check the pre-filters before anything else.

When the fix costs more than the system, and what that means at year seven

Every part discussed above is cheap on its own — a check valve, a tank recharge, a fitting, a filter set. The one place the math changes is a full replacement stack: a new membrane, a new tank, and a full filter set all at once, on a system old enough that several of its other components are also nearing end of life. At that point it's worth pricing the repair against a new system rather than assuming the existing one is worth saving by default.

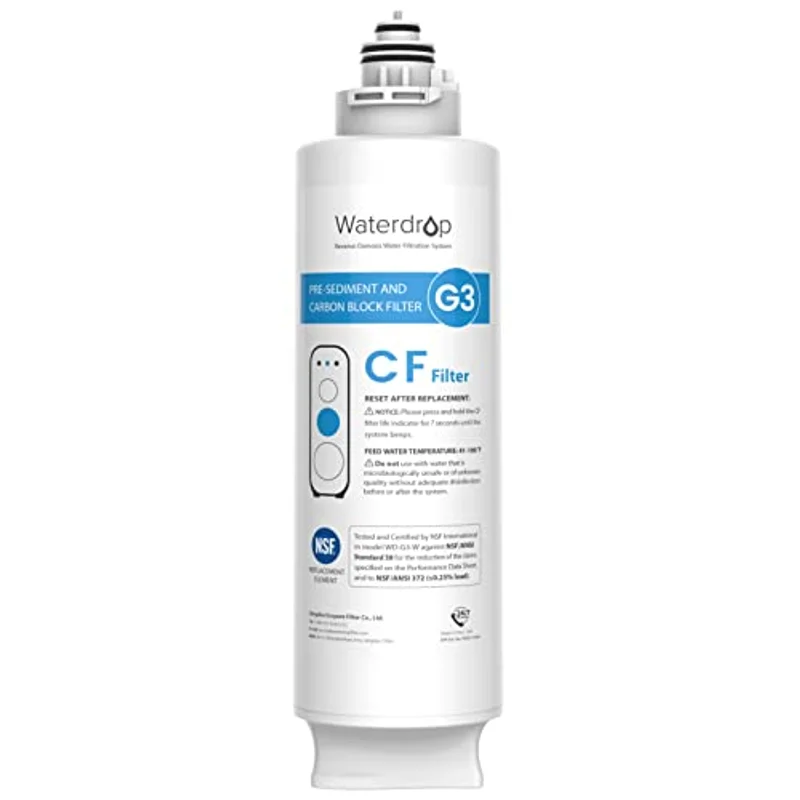
The APEC ROES-PH75 sells for $189.99 and the iSpring RCC7AK-BN for $234.99 — both complete 6-stage systems, tank included. A replacement filter set alone, like the APEC FILTER-SET-ES at $25.46 for a six-month pre-filter set, or the Waterdrop G3-N1CF at $29.99 for a proprietary front filter, is a small fraction of either system's price. But stack a new membrane, a new tank (tanks aren't cheap to replace individually — they're often a large share of a system's original price) and a full filter set together on a seven-year-old unit, and the repair bill can land within striking distance of, or past, the cost of a new complete system with a fresh warranty and none of the other unknowns an old unit carries — a housing that's been cross-threaded once, tubing that's gone slightly brittle, a faucet valve that's stiffening up.

The practical rule: fix single components as they fail, in the cheap-to-expensive order above, for as long as failures come one at a time. When a system needs its tank, its membrane and its full filter set replaced in the same visit, get the price of both paths — repair parts and a new complete system — before committing to either, because at year seven the new-system column is a live alternative, not a throwaway comparison. If budget is the deciding factor, our roundup of systems under $250 is priced for exactly this replacement decision.

Parts referenced above

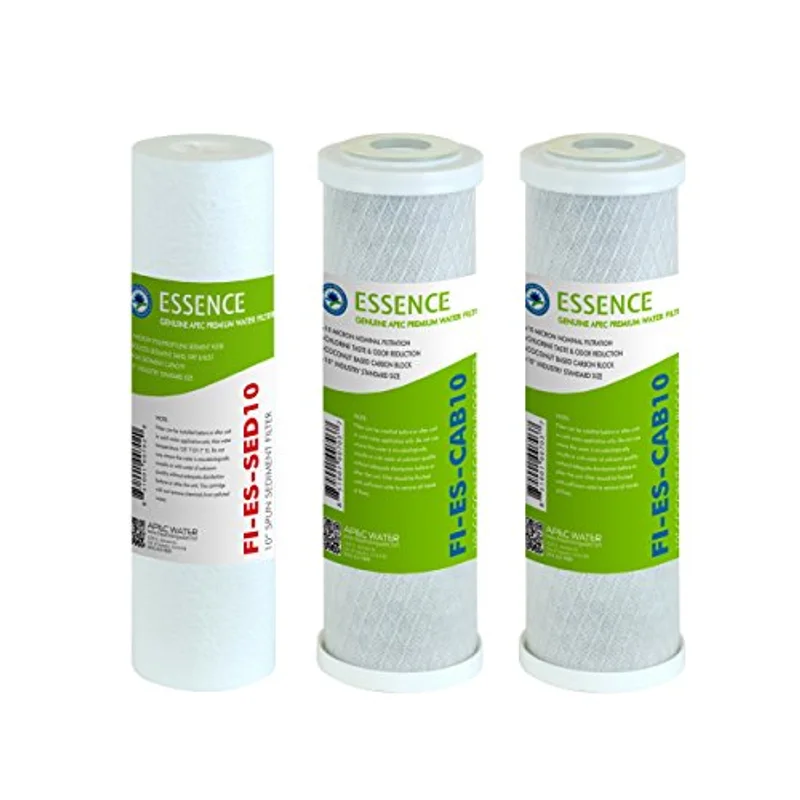
The filter sets mentioned in this guide

Not diagnostic tools — the routine replacement parts that keep the pre-filter and membrane stages from being the cause of the symptoms above in the first place.

APEC FILTER-SET-ES replacement pre-filter set

APEC FILTER-SET-ES

$25.46

A 6-month sediment and carbon pre-filter set for APEC ROES-series systems — the stage that protects the membrane from the chlorine and sediment that shorten its life.

Check price →
Waterdrop G3-N1CF replacement front filter cartridge

Waterdrop G3-N1CF

$29.99

The proprietary 3-in-1 front filter for Waterdrop's G3-W, G3P600 and G3P800 systems, rated for six months or 550 gallons — a twist-in swap with no tools.

Check price →
If it's time to replace

Two complete systems, if repair no longer makes sense

Priced against the repair-versus-replace math above — both are complete 6-stage under-sink systems with a tank included.

01Serviceable

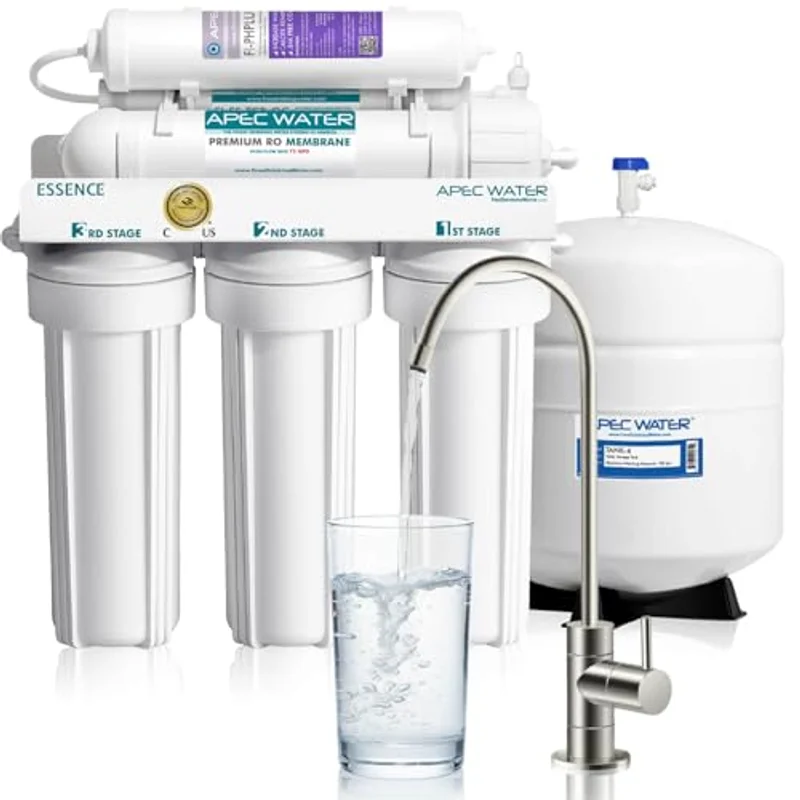
APEC Water ROES-PH75

Standard housings, wide parts availability
6-stage · alkaline · 75 GPD · WQA certified · tank

A tank system built on standard 10"×2.5" housings, which is what makes the fittings, O-rings and filter sets in this guide widely available and inexpensive for as long as you own it. The transparent first housing also makes the sediment-load check mentioned above a glance rather than a guess.

APEC Water ROES-PH75 6-stage alkaline reverse osmosis system
$189.99
Tank · alkalineCheck price →
02Alternative

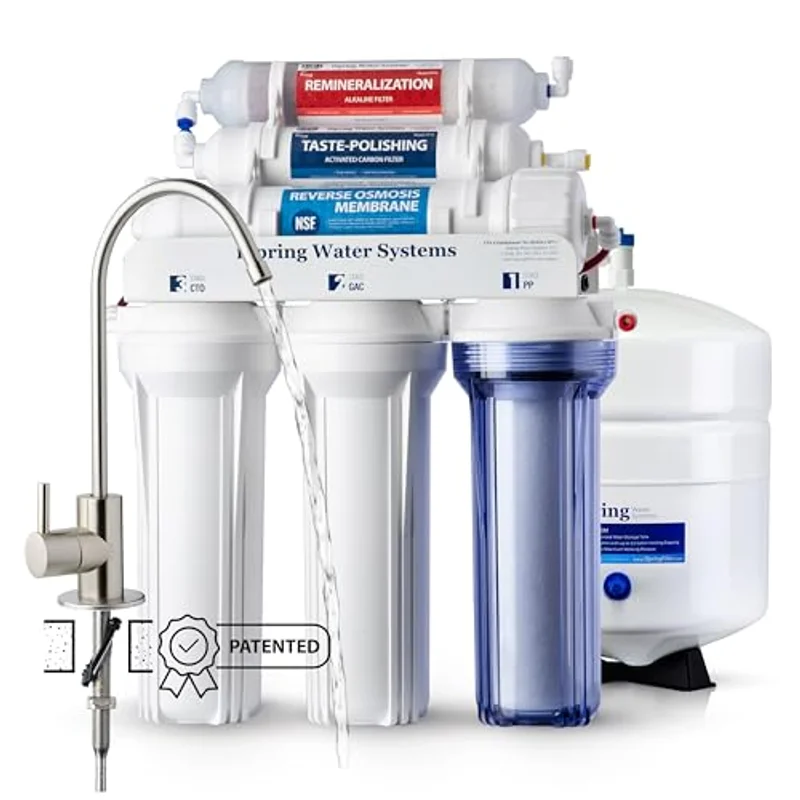
iSpring RCC7AK-BN

NSF/ANSI 58 certified as a complete system
6-stage · alkaline · 75 GPD · NSF/ANSI 58 · top-mounted faucet

Also a standard-housing tank system, certified to NSF/ANSI 58 as a whole assembly rather than on materials alone. The top-mounted faucet design is meant to simplify the install itself — worth knowing if the reason you're replacing is that the old system's faucet valve had also started failing.

iSpring RCC7AK-BN 6-stage alkaline reverse osmosis system
$234.99
Tank · alkalineCheck price →
FAQ

Common troubleshooting questions

My RO system's drain line never stops running. What's wrong?

Most often a stuck-open check valve letting tank pressure push water backward through the membrane and out to drain continuously. A failed ASO (automatic shut-off) valve is the second possibility, but rule out a low pressure-tank air charge first — a tank that never reaches full pressure looks identical to a bad ASO valve. Both the check valve and the ASO valve are inexpensive inline parts; a fouled membrane is the least likely cause and worth checking last, with a TDS reading to confirm before replacing it.

Is gurgling after a filter change normal?

Yes, almost always. Opening a housing lets air into the system, and that air works its way out through the tubing and faucet over the first several tank-fill cycles — draw and refill a few times and it typically clears within a day. It's only worth investigating further if the gurgling hasn't faded after several days, or if it starts on a system nobody has recently serviced, which points to an air leak at a fitting or a collapsed pressure-tank air charge instead.

Why did my RO faucet suddenly get slow?

Check in this order: incoming water pressure (a cheap inline gauge confirms it in a minute), the pressure tank's air charge (should sit around 7 psi empty, checked with a tire gauge on the Schrader valve and topped up with a bicycle pump if low), and only then the membrane. A collapsed tank air charge is the most commonly overlooked cause — the tank still fills with water at a normal rate, so it doesn't look empty, but it can no longer push that water out to the faucet with any force.

Where do RO systems usually leak?

Four places, roughly in order of frequency: a push-fit fitting that wasn't fully seated or has a scored tube, a filter housing O-ring that's dry, pinched or twisted, the feed valve at the cold-water line loosening slightly over time, and the drain saddle at the waste pipe. Dry the cabinet, lay paper towels under each suspect area, run the system, and check which towel gets wet first rather than guessing.

Keep reading

Next, if the system needs more than a fix