Best RO Systems
HomeGuidesSanitizing an RO system
How-to

How to sanitize an RO system (and change filters without wrecking it)

We're reader-supported: buying through our links may earn us a commission at no extra cost to you. We compare published specifications, certifications and prices — we don't run a testing lab.

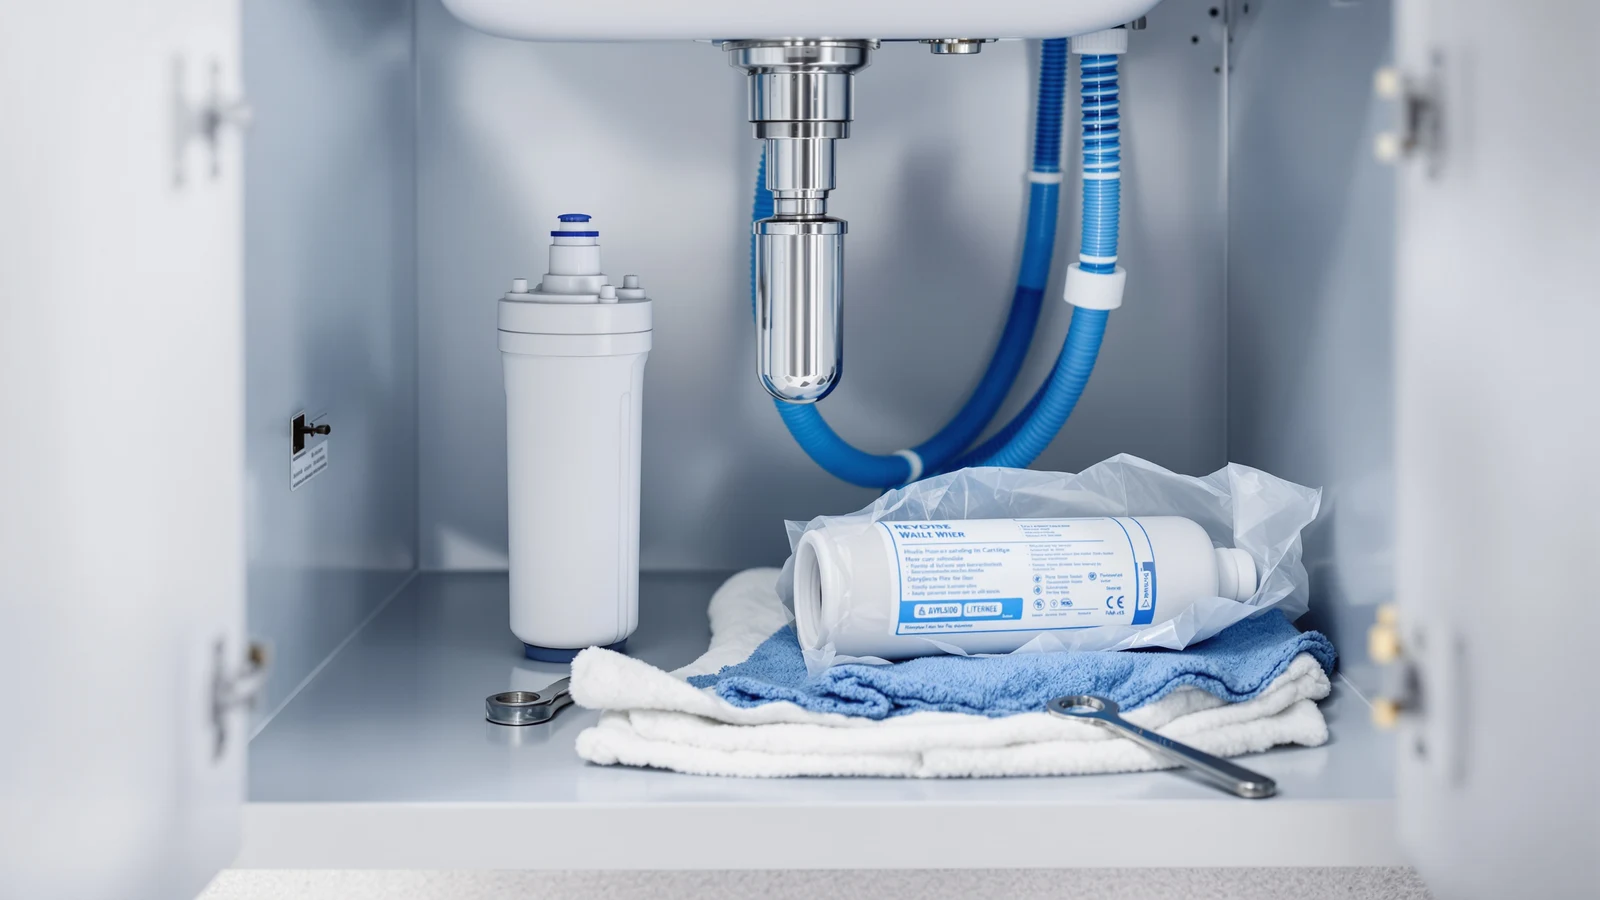
Gloved hands sanitizing an open reverse osmosis filter housing on a towel, with a fresh cartridge and a spare O-ring laid out beside a drained storage tank

Every filter change on a reverse osmosis system is a small surgery. You shut the water off, crack a sealed housing that has been holding pressurised water in the dark for months, and put your hands and a new cartridge somewhere they were never meant to go while the system was running. For those few minutes, a system built to keep contaminants out is wide open.

Most owners treat that moment as a parts swap: unscrew, drop the old cartridge in the trash, drop the new one in, done. The step they skip is sanitizing — flushing the opened housings and internal surfaces with a mild disinfecting solution before the new cartridges go in and the system is sealed up again. Manufacturers put it in the printed instructions that ship with almost every kit. Almost nobody reads that page, and the two-minute step it describes is the difference between a filter change and an invitation for whatever was on your hands, on the counter, or floating in the kitchen air to set up residence inside a sealed, pressurised box for the next six to twelve months.

This is a routine, not a lecture: what sanitizing protects, the steps in order with the water off and the tank drained, why a universal housing and a twist-in cartridge are two different jobs, the mistakes that undo a clean change, how much water to run afterward and why the first glass tastes strange, and a calendar you can actually keep. We compare published manufacturer instructions, specifications and prices — we don't run a testing lab, and where your own manual gives a different bleach quantity or contact time than the general figures here, follow the manual.

What you're actually protecting

A reverse osmosis system is a loop of damp, dark, room-temperature plastic that periodically goes still — every time the storage tank is full and nobody has drawn water in a while, everything downstream of the membrane sits stagnant. Stagnant water at room temperature, inside a nutrient-poor but not sterile plastic housing, is exactly the environment where a thin layer of bacterial biofilm can start to build, particularly in the storage tank bladder and the tubing near the faucet. A well-maintained system with fresh carbon and a tight membrane keeps this in check on its own; a system with fouled carbon, a cracked O-ring or a filter change that introduced contamination does not.

The filter-change moment is the highest-risk point in that cycle, because it is the only time the system is deliberately opened. Every other day the housings are sealed and pressurised, and nothing gets in. During a change, the sump is empty, the O-ring seal is broken, and whatever is on the outside of the housing, on your hands, or airborne in the kitchen has a direct path to a surface that will spend months in contact with your drinking water. The pre-filters and carbon block ahead of the membrane are also the system's chlorine barrier — chlorine is stripped out deliberately by the second or third stage, because it would otherwise attack the membrane — which means everything past the carbon stages is undefended against contamination introduced downstream. That is exactly where a careless hand or a dirty housing wrench does its damage.

None of this is a reason to panic about a system you already run normally. It is the reason manufacturers write a sanitizing step into their instructions, and worth two extra minutes at every cartridge change rather than something to reach for only after water starts tasting off.

The full routine, with the water off and the tank drained

Read the whole sequence before starting. It takes fifteen to twenty-five minutes beyond a normal filter change, most of it waiting rather than working, and every step assumes the incoming water is off and the storage tank has been run down first.

1. Shut off the feed and drain the tank

Close the feed valve on the cold-water line, then open the RO faucet and let it run until it stops delivering water. On a tank system, close the tank's own ball valve once it runs dry so no pressurised water is waiting behind it when you open a housing. On a tankless system, the internal lines hold far less water, but the same shut-off-and-drain sequence still applies before anything is opened.

2. Wash your hands, then set up a clean work surface

Wash and dry your hands before touching anything, and lay a clean towel on the counter for the parts you remove. This is the step people skip fastest, because a filter change feels mechanical rather than one where hand hygiene matters — but the next several steps put your fingers directly on surfaces the water will touch.

3. Remove the old cartridges and inspect the housings

On a standard 10-inch housing, use the housing wrench to break the bowl loose, empty any residual water into a bucket, and lift the old cartridge out. On a twist-in system, quarter-turn the cartridge and pull it straight from the manifold. A sediment cartridge caked grey-brown, a musty carbon block, or slime on the housing wall are signs the change was overdue — not signs anything went wrong with sanitizing.

4. Rinse the empty housings and check the O-rings

Rinse each empty housing bowl with clean water and wipe the inside with a clean cloth. Slide the old O-ring off the housing neck and check it for flattening, nicks or a chalky texture — any of those means it no longer seals reliably. Leave it off for the next step.

5. Sanitize with a mild bleach solution, empty housings only

With the cartridges and O-rings still out, add a small measured quantity of unscented household bleach to the first-stage housing — the volume depends on housing size and is printed in your manual, typically on the order of a teaspoon per standard 10-inch sump. Reassemble the empty housings hand-tight, open the feed valve briefly to draw the diluted solution through to the faucet, then close it once you smell a faint chlorine note. Let it stand for the contact time your manual specifies, commonly ten to twenty minutes, before draining it back out.

6. Drain the sanitizing solution completely

Open the RO faucet and the tank valve and run the system until the bleach smell is gone. Do not skip ahead to fitting new cartridges while sanitizing solution is still in the lines — the next steps exist to flush it out before it reaches a cartridge or your glass.

7. Fit fresh O-rings and the new cartridges

Smear a fresh O-ring lightly with food-grade silicone grease and seat it in its groove before threading the housing back together — a dry O-ring drags and can twist out of its seat, a slow, hard-to-spot leak waiting to happen. Load the new cartridge as shown on its wrapper, keeping bare fingers off the membrane surface of any cartridge that has one (more below). Hand-tighten the housing, snug plus a small nudge — over-tightening a plastic housing cracks it rather than sealing it better.

8. Repressurize slowly and check every joint

Open the feed valve partway, wait, then open it fully. Run a dry finger around every housing collar, the drain saddle and the faucet base while the system pressurizes. A weep found now, while the cabinet is dry, is a two-minute fix; the same weep found in three weeks is a swollen cabinet floor.

9. Flush before drinking anything

New cartridges carry manufacturing residue and, on a membrane, a wetting-out period. This is the step covered in full below — expect to dump at least two full tank cycles before the water is representative of normal operation.
Universal housings and twist-in cartridges are two different jobs

The nine-step routine above describes a conventional standard-housing system. A tankless system with twist-in front filters — the kind the tankless-versus-tank comparison covers in more depth — follows the same logic through a different mechanism, and the two designs put the contamination risk in different places.

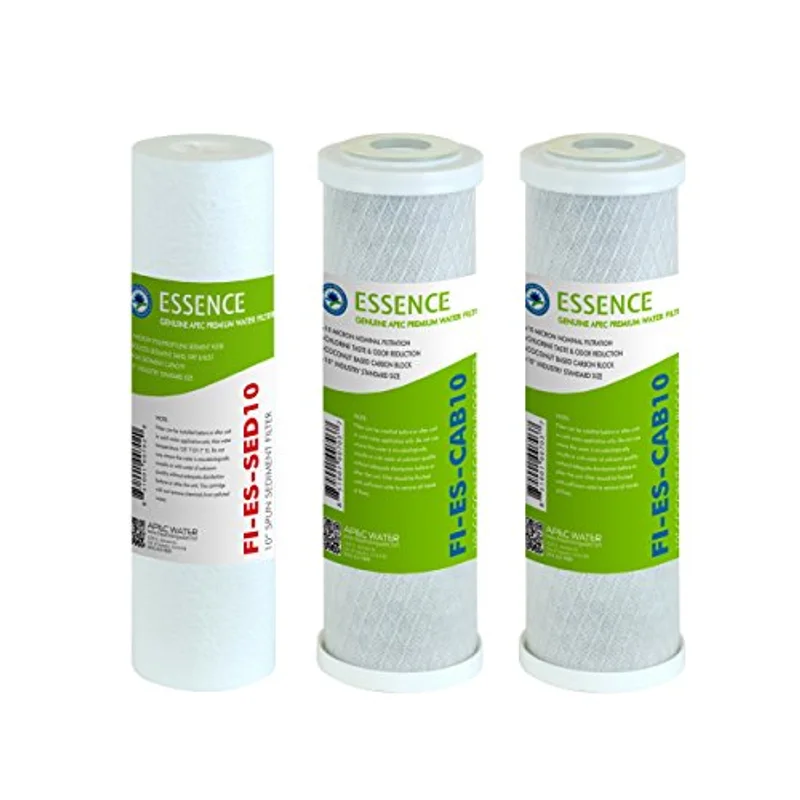
Universal 10-inch housings, the kind an APEC or iSpring pre-filter set drops into, put the whole sump wall in your hands at every change. You unscrew a bowl, expose a wet interior surface roughly the size of a coffee mug, handle a separate O-ring, and reassemble the whole thing with a wrench. That is exactly the design sanitizing solution was written for — you can fill the open sump directly and clean the entire wetted surface with a cloth before closing it back up. The risk is mechanical: a cross-threaded bowl, a dropped or reused O-ring, or a housing over-tightened past hand-tight-plus-a-nudge.

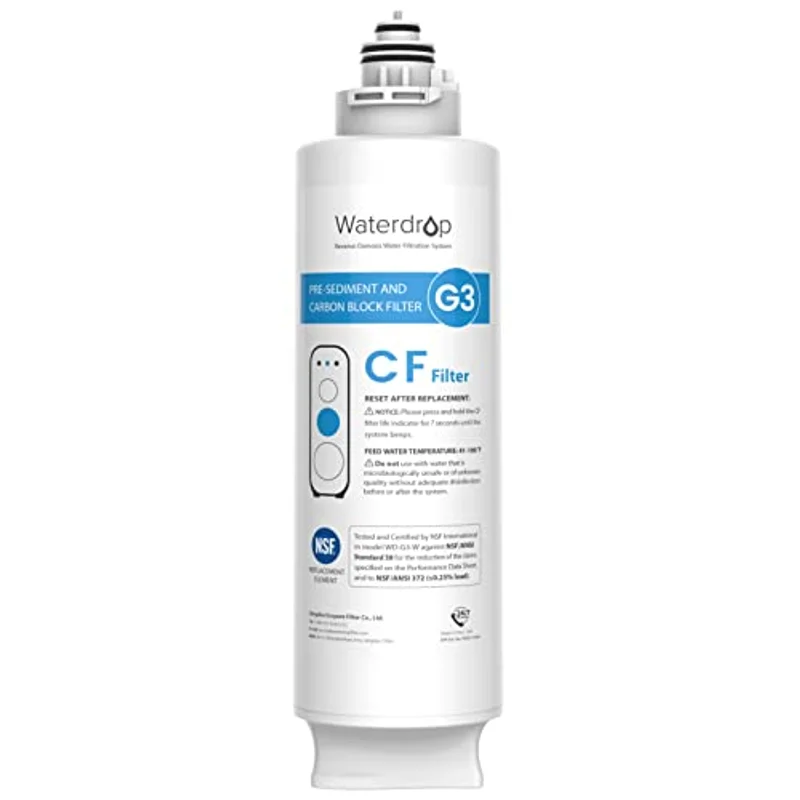
Proprietary twist-in cartridges, like the Waterdrop G3-N1CF, remove the housing bowl from the equation. The cartridge and its sealing surface are one molded unit that quarter-turns straight out of a manifold, so there is no separate O-ring to lose and no bowl threads to cross — a real reduction in mechanical risk, and a large part of why twist-in systems get changed on schedule more often. But it comes with a blind spot: the manifold cavity the cartridge seats into is still a wetted surface, and because there is no bowl to unscrew and inspect, you cannot see or wipe it the way you can a standard housing. A sanitizing solution run through the system with the cartridge out matters just as much here, even though the mechanics look nothing like unscrewing a sump.

Read your own manual either way — housing sizes, sanitizing volumes and contact times vary by model, and the figures in this guide are a starting point, not a replacement for what shipped with your system.

Three mistakes that contaminate a system you just cleaned

All three show up repeatedly in manufacturer troubleshooting guidance, and all three are avoidable in the time it takes to read this section.

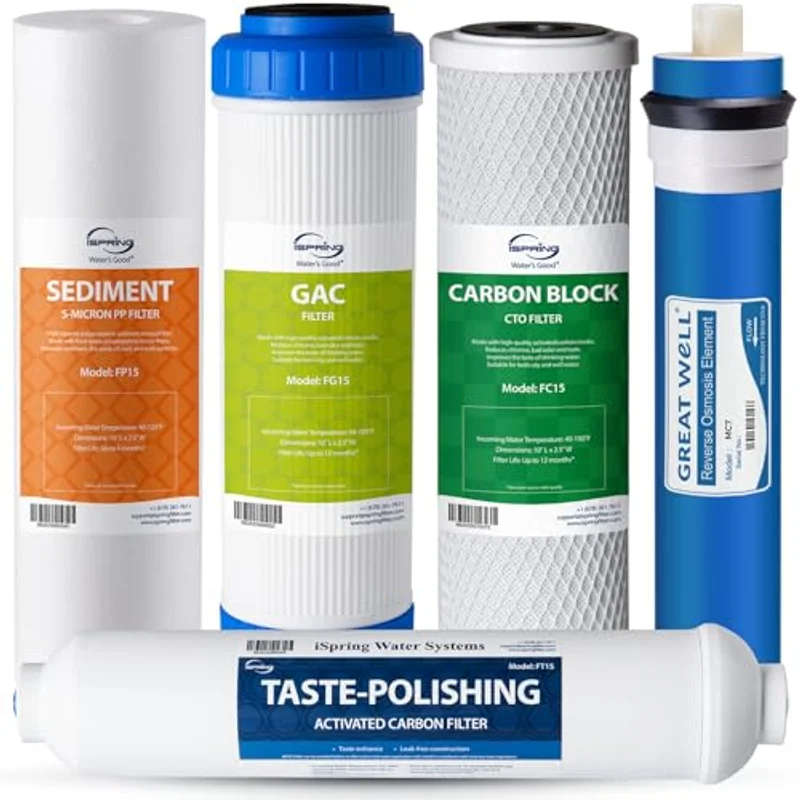
Bare hands directly on a new membrane. An RO membrane cartridge, like the one included in the iSpring F5-75 replacement pack, has a wetted surface that spends years in continuous contact with your water. Skin carries oils and bacteria that a quick rinse does not remove, and pressing bare fingers against the membrane's active surface — rather than handling it by the cartridge housing or end caps — transfers both onto the one component the whole system depends on. Wash your hands before opening the packaging, and handle the cartridge by its outer shell.

Reusing an old O-ring instead of a fresh one. An O-ring compressed inside a housing for six months to a year takes a permanent set: it no longer springs back to its original round cross-section, and a flattened or nicked O-ring seals less reliably even if it looks fine at a glance. A reused O-ring that leaks lets pressurized water escape past the seal and opens a path for whatever is outside the housing to migrate in around the same gap. Fresh O-rings are inexpensive and usually included with a replacement filter set; "the old one still looks okay" is the wrong test.

Skipping the flush and drinking straight away. This turns a careful sanitizing step into the opposite of its purpose. Sanitizing solution left in the lines, manufacturing residue on a fresh cartridge, and air introduced during the change all need to be flushed out before normal use — not rinsed for thirty seconds, but run through the full sequence covered next. A system sanitized correctly and flushed for thirty seconds delivers a glass of diluted bleach water; the same system flushed properly delivers clean water and genuinely sanitized internal surfaces.

Refilling and flushing: how many tanks, and why the first glass tastes odd

On a tank system, the standard published guidance is to fill and completely dump the storage tank twice before drinking any of the water: open the RO faucet, let the tank empty fully, close the faucet, wait for the tank to refill against the membrane's rated output, then repeat once more. At a 75 gallon-per-day membrane rating like the one in the iSpring F5-75, a full tank cycle takes a few hours, so budget an afternoon rather than twenty minutes. On a tankless system with a twist-in front filter such as the Waterdrop G3-N1CF, there is no tank to dump — instead, run the system's flush cycle or let the RO faucet run for the duration your manual specifies, since the same wetting-out and residue-clearing process happens inside a smaller volume of tubing rather than a bladder tank.

The first glass drawn after any cartridge change or sanitizing pass commonly tastes off, and that is expected rather than a sign of a bad seal. Two things happen at once. Any sanitizing solution still working its way out of the lines carries a faint chlorine note in trace amounts too small to be a health concern — exactly why the flush step exists. And a brand-new membrane and carbon block both carry manufacturing residue: carbon fines that have not fully settled, and a membrane that has not finished wetting out and briefly passes more dissolved solids than it will once it has run for a few hours. Both effects fade with use. A taste that persists well beyond the recommended flush volume is the point to stop and recheck the assembly rather than keep drinking through it.

A maintenance calendar you'll actually keep

The calendar that works is the one tied to a cartridge change you were already going to do, not a separate reminder to sanitize on its own. Every time a housing opens or a cartridge comes out, run the sanitizing pass — that ties the extra step to an event you can't forget, rather than a date on a calendar you can.

ComponentTypical intervalSanitize at this changeNote
Sediment pre-filter6–12 monthsYesThe most-opened housing — set the pace for the rest
Carbon block / GAC stages6–12 monthsYesChlorine barrier for the membrane; exhausts silently
Twist-in front filter (e.g. Waterdrop G3-N1CF)6 months or 550 gallonsYesNo bowl to inspect — the sanitizing pass is the only cleaning step
RO membrane (e.g. iSpring F5-75 pack)2–3 yearsYesBare-hands rule applies; the highest-value surface to protect
Post-carbon / polish stage9–12 monthsYesLast stage before the faucet — worth the extra care

Two habits make this calendar durable. First, label the install date: masking tape and a permanent marker on the housing or cartridge itself, not a note in your phone you'll forget to check — a dated label survives a power cut and a house move. Second, buy the sanitizing supplies with the cartridges rather than separately; unscented bleach and a spare set of O-rings cost a few dollars, and having them on the counter before you start is what actually gets the step done instead of skipped.

For the underlying cartridge schedule and what a full year of parts costs system by system, see our filter replacement cost guide; for the mechanics of getting a system in and plumbed correctly in the first place, see how to install an under-sink reverse osmosis system.

What to have on hand

The four things worth buying before you open a housing

Real listings, current prices as we recorded them. Confirm the size and stage count against your own system before ordering.

01Universal pre-filters

APEC Water FILTER-SET-ES

A fresh O-ring and a clean sump, twice a year
$25.46 · 6 Month Set · standard 10" × 2.5" housings

A pre-filter set for standard universal housings — the setup where you unscrew a bowl, rinse the inside and fit a fresh O-ring at every change. The routine above applies directly: empty housings, mild bleach solution, contact time, then a full flush.

APEC Water FILTER-SET-ES replacement reverse osmosis pre-filter set
$25.46
6-month setCheck price →
02Twist-in front filter

Waterdrop G3-N1CF

No bowl to open — sanitize the manifold, not a sump
$29.99 · 1 Count (Pack of 1) · for G3-W, G3P600 & G3P800

The replacement front filter for Waterdrop's tankless G3 systems. There's no housing bowl to unscrew and no separate O-ring to inspect — which is exactly why the sanitizing pass matters: a quarter-turn cartridge swap with no bowl to rinse means the sanitizing solution is the only way to reach the manifold cavity.

Waterdrop G3-N1CF replacement front filter for G3-W, G3P600 and G3P800 reverse osmosis systems
$29.99
1 countCheck price →
03The membrane year

iSpring F5-75

Handle the membrane by the housing, never the surface
$49.58 · 5 Count (Pack of 1) · fits 5-stage systems with 75 GPD membrane

A five-cartridge set that includes a 75 GPD RO membrane — the one component where the bare-hands mistake matters most. Wash up before opening the packaging, keep fingers off the membrane's active surface, and give this the full flush described above before treating the water as normal.

iSpring F5-75 reverse osmosis filter replacement pack for 5-stage systems with 75 GPD membrane
$49.58
5-stage setCheck price →
04Full changeover

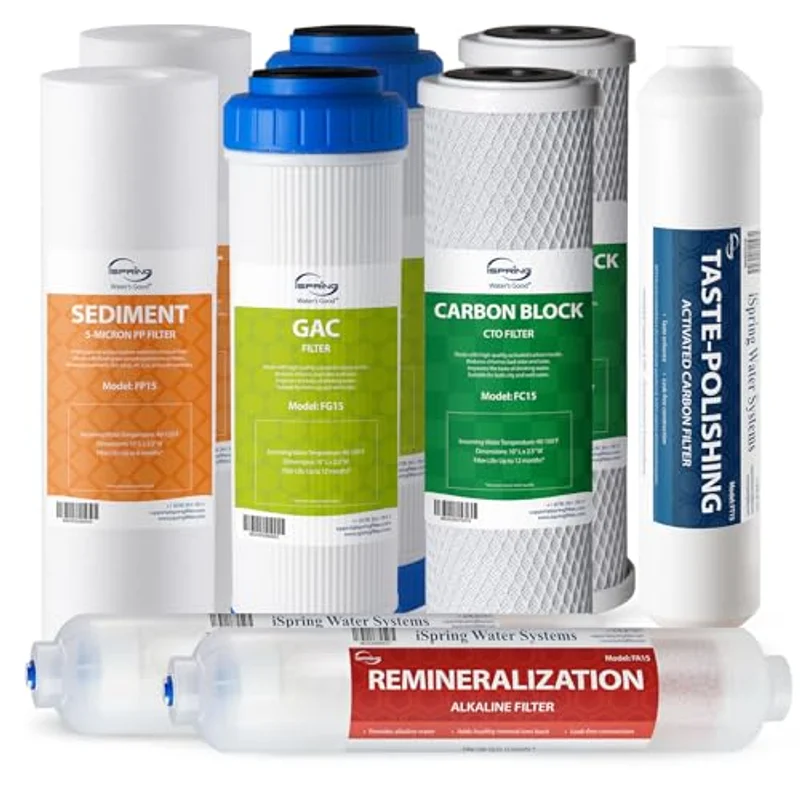
iSpring F9K

A whole system opened at once — the calendar's biggest event
$69.24 · 9 Count (Pack of 1) · NSF certified, without RO membrane

Nine cartridges for a 6-stage alkaline system, without the membrane. Because this set touches every non-membrane housing at once, it's the appointment to sanitize the whole system in one pass — drain the tank, open every sump, sanitize, then reassemble with fresh O-rings throughout.

iSpring F9K NSF certified 1-year reverse osmosis water filter set with alkaline remineralization filters
$69.24
9-count setCheck price →
FAQ

Questions people ask about sanitizing an RO system

How often should I sanitize a reverse osmosis system?

Every time a housing is opened or a cartridge is changed — typically every six to twelve months for pre-filter and carbon stages, and every two to three years when the membrane is due. Tie sanitizing to the filter-change event you're already doing, since that's when the system is open anyway.

Can I use household bleach to sanitize a reverse osmosis system?

Unscented household bleach, diluted to the quantity specified in your manual and used only in empty housings before the new cartridges go in, is the standard published sanitizing method for most under-sink systems. Follow your own manual's quantity and contact time, and always drain and flush the system fully before drinking the water.

Why does the first glass of water taste odd after a filter change?

Two normal effects combine: trace sanitizing solution still clearing the lines, and manufacturing residue on new cartridges — carbon fines that haven't fully settled and a membrane that hasn't finished wetting out. Both fade once you've flushed the recommended volume, typically two full tank cycles on a tank system. A taste that persists past that is worth rechecking.

Do twist-in cartridge systems need sanitizing the same way as standard housings?

Yes, even though the mechanics differ. A twist-in cartridge removes the housing bowl and separate O-ring from the job, lowering mechanical risk, but you also can't see or wipe the manifold cavity the cartridge seats into. Running a sanitizing solution through the system with the cartridge out reaches that cavity the way rinsing a housing bowl by hand does.

Keep reading

Next, if you're maintaining a system