Best RO Systems
HomeGuidesConnecting RO to a fridge and ice maker
How-to

Running RO water to your fridge and ice maker

We're reader-supported: buying through our links may earn us a commission at no extra cost to you. We compare published specifications, certifications and prices — we don't run a testing lab.

A quarter-inch tubing tee splicing off an under-sink reverse osmosis line, with the branch routed toward a refrigerator across the kitchen

Most under-sink reverse osmosis guides quietly assume the finished water only has to travel about eighteen inches, from a tank or a tankless outlet to a faucet drilled a few inches away. Feed a refrigerator's ice maker and water dispenser off the same system and that assumption stops holding. The run is now ten to thirty feet, it threads behind cabinets and through at least one wall, and it ends at an appliance valve with its own pressure and flow expectations that have nothing to do with your RO system's spec sheet.

Nothing about the reverse osmosis system changes when you add a fridge line — the plumbing around it does. This guide covers what actually breaks when you extend an RO line that far: the pressure math a tank system quietly relies on, when a tankless unit is and isn't the automatic fix people assume it is, how the tee-and-tubing run should physically go in, why RO ice tastes like nothing and sometimes still turns up cloudy, and what to do about the small filter cartridge already hiding behind your fridge's grille. One thing worth saying upfront: this only works with a plumbed under-sink system. A countertop unit has no fixed connection to route a fridge line from at all.

Why the fridge is a harder customer than the kitchen faucet

The RO faucet at the sink sits inches from the storage tank or the tankless unit's outlet port. A refrigerator, by contrast, is typically ten to twenty-five feet away measured along the actual tubing path — down through the base of the sink cabinet, along the toe-kick, across the kitchen floor plan, and up the back of the fridge — not the straight-line distance a tape measure gives you standing between the two. Every foot of tubing adds friction loss, and every fitting, elbow and quick-connect union along the way adds a little more; a run with three or four turns behind cabinetry loses noticeably more pressure than the same length pulled dead straight.

Elevation compounds it. If the fridge's water inlet valve sits a few feet above the RO system's outlet — common with a raised cabinet toe-kick or a system mounted low in a deep base cabinet — that height has to be paid for out of the same pressure budget as the distance. It isn't a large number on a home scale, roughly 0.43 psi per vertical foot of water column, but it's a real subtraction from a device that starts out well under municipal main pressure to begin with.

The reason it matters is that reverse osmosis is pressure-driven on both sides of the membrane: incoming line pressure pushes water through it, and whatever pressure survives the membrane and, on tank systems, the tank's air charge, is what drives water out to a fixture. A faucet six inches from the tank barely notices the trip. A fridge twenty feet and one wall away is the fixture that actually tests the system. Our guide to RO pressure and flow rate goes deeper on why a GPD rating on the box isn't the same thing as delivered pressure at a distant fixture.

Tank systems and the ice-maker problem: one 75 GPD system, two outlets

A tank-based system like the iSpring RCC7-BN or the APEC Water ROES-PH75 doesn't deliver water at its rated GPD — it delivers water at whatever pressure is currently stored in a pressurized tank, and that tank is refilled at the rated GPD rate whenever it draws down. That distinction is the entire ice-maker problem in one sentence. The tank supplies both the kitchen faucet and the fridge from the same finite reserve, and pressure in an air-charged RO tank falls as the tank empties — full and near-empty are not the same delivered psi, they're two ends of the same curve.

Run the kitchen faucet to fill a pot at the same moment the icemaker's inlet valve opens, and both draws are pulling on a tank that is already losing pressure as it empties. Neither necessarily runs dry, but the icemaker's fill can slow to a trickle it wasn't designed around, or the fill cycle can time out before the tray is full — an intermittent fault that looks like a failing icemaker long before anyone thinks to suspect the RO tank behind it.

The production side is the other half of it. At 75 GPD, a system like the RCC7-BN, the six-stage alkaline APEC ROES-PH75, or the iSpring RCC7AK-BN is refilling its tank at roughly 3 gallons an hour — plain arithmetic on the rated output, not a separate guarantee, and that GPD figure is itself a manufacturer rating taken under specific test conditions rather than a promise about your kitchen. A household running a kettle, a coffee maker and an icemaker off the same tank across a busy morning can ask it to give up water faster than 75 GPD replaces it, and the fridge — usually the last thing anyone thinks to check — is the outlet that goes quiet first, because its inlet valve simply won't open below its own minimum rated pressure.

None of this means a 75 GPD tank system can't run a fridge line; plenty do, without complaint. It means the tank is shared infrastructure rather than a private reserve for one faucet, and the practical fix is patience rather than new hardware: let the tank recover between heavy draws, and don't be surprised if simultaneous faucet-and-icemaker demand is the one combination that exposes a small system's limits.

Tankless systems, permeate pumps, and where even those fall short

A tankless system removes the shared-reserve problem by removing the reserve. The Waterdrop G2P600, rated at 600 GPD, produces water on demand instead of storing it, so the faucet and the fridge draw from the same instantaneous production rather than competing for what's left in a tank. On paper that's a large multiple of a 75 GPD tank system's output, and in practice it's the more forgiving option for a household running two outlets off one system — provided the rest of the installation cooperates.

Two conditions still apply, and neither is optional. The G2P600 needs power at the point of installation — it's a pumped system, and with no outlet under or near the sink it isn't an option at all. And a GPD rating, tankless or not, is still a number taken under specific pressure and temperature conditions rather than a promise about yours; weak city pressure will hold a tankless system back just as it would a tank system.

On tank systems specifically — not tankless ones — a permeate pump is the usual answer when incoming pressure is marginal or a long fridge run adds resistance the tank has to fill against. It's a small, non-electric accessory plumbed into the reject, or drain, line: it uses the pressure of the water the system is already sending down the drain to help push finished water into the tank, which speeds refill and lowers the waste ratio without adding a component that needs a plug. That solves a production problem, though — a tank that fills faster is still a tank, and a permeate pump does nothing for the simultaneous-draw pressure problem covered above.

Where neither a tankless unit nor a permeate pump is enough — a long run to a fridge on the far side of an open-plan kitchen, a second-floor installation, or genuinely low municipal pressure, well under the 40 psi most systems assume — the honest fix stops being an RO accessory and becomes a whole-house or point-of-use booster pump ahead of the system, sized by a plumber for your actual pressure and run length. That's a household plumbing decision, not a spec on any RO unit, and it's worth ruling out low incoming pressure with a simple hose-bib gauge before spending money on either a permeate pump or a booster.
The physical run: tee, tubing, routing and the freeze risk nobody mentions

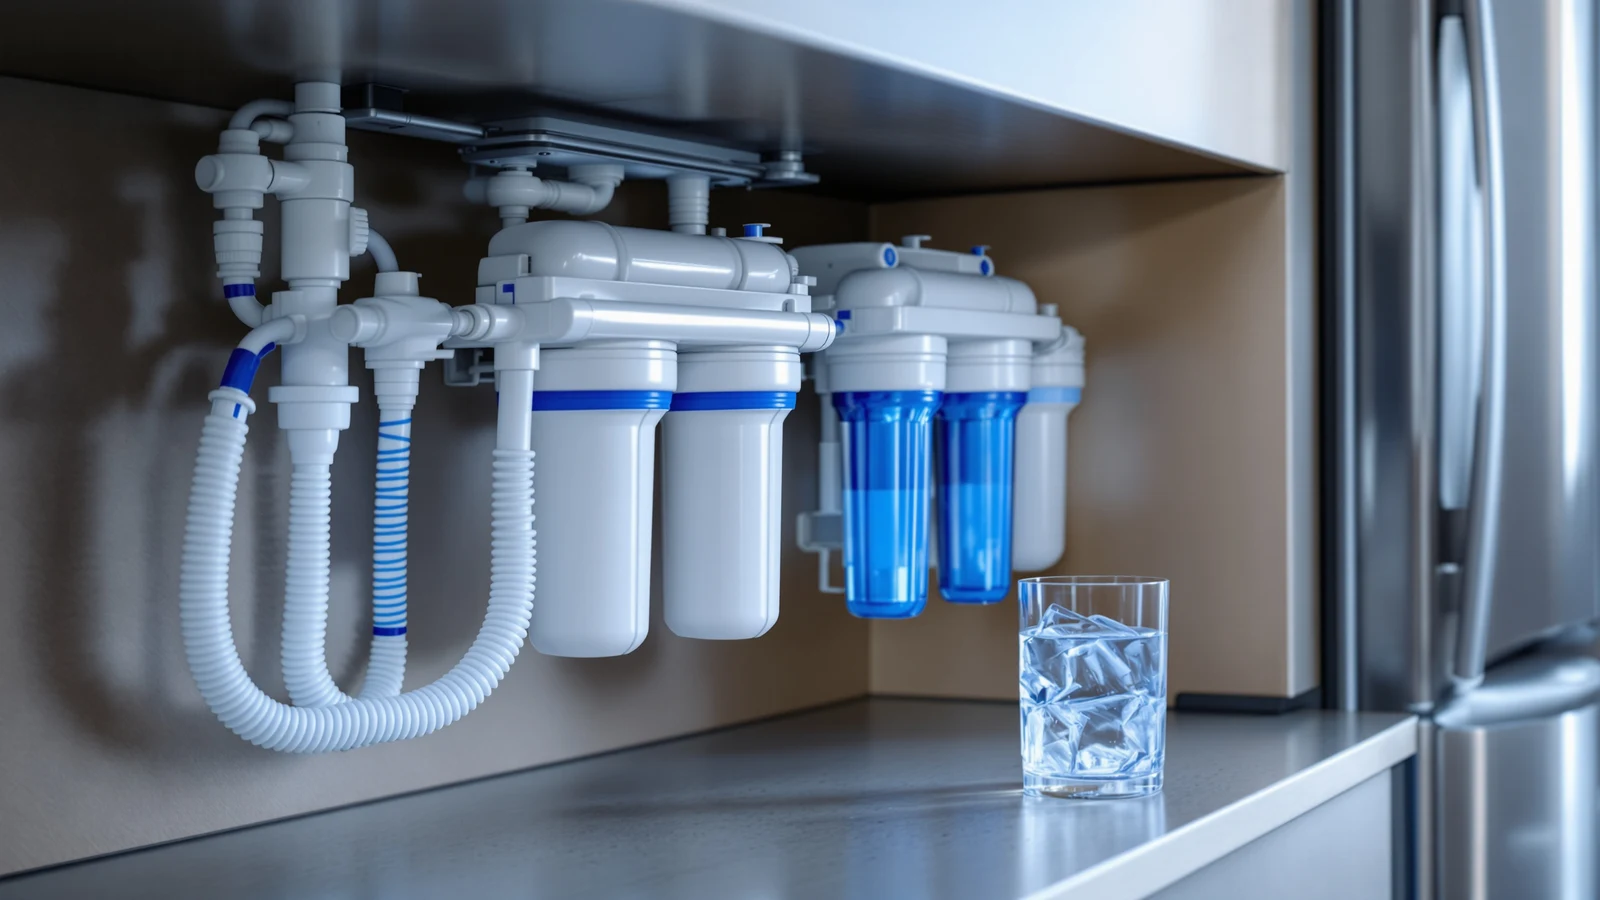
Every fridge-feed installation starts at the same point: a tee inserted into the system's finished-water line, downstream of the tank valve on a tank system or the outlet port on a tankless one — never upstream of the membrane, where the water hasn't been treated yet, and never off the raw feed line, which would just deliver treated tap water disguised as RO water. Most 1/4-inch quick-connect fridge-line kits include this tee already; where they don't, a standard 1/4" push-to-connect tee from any RO parts supplier does the job, using the same collet-and-tube system already covered in our under-sink install guide.

  1. Tee into the finished-water line, past the tank or tankless outlet, never before the membrane.
  2. Run 1/4-inch OD tubing — the same size already used for the feed and product lines — sized generously, not cut to the tape-measure minimum.
  3. Route behind the base cabinets and through the toe-kick, secured every few feet, clear of drawer slides and hinges.
  4. Leave a service loop at the fridge end and connect at the appliance's own quick-connect inlet, following its manual for orientation.
  5. Open the line slowly, check every joint by hand, then flush before using the first ice or water the fridge produces.

Tubing size stays the same 1/4-inch OD polyethylene used everywhere else in the system — no reason to step up or down in diameter for the fridge branch. Buy more than the tape-measure distance calls for: coiling a slightly long run at the fridge end, rather than pulling one taut, gives the fridge room to be pulled out for cleaning without disconnecting a line every time.

Routing is where installs go wrong. Run the tubing along the back of the base cabinets rather than across a cabinet floor where it'll get walked on, through the toe-kick space at floor level where most cabinet runs travel sideways anyway, and up the wall or cabinet side behind the fridge rather than exposed across an open doorway. Secure it every few feet with the clips most kits include — an unsecured run sags and rubs against cabinet edges over months, failing the same slow way as the joints in our install guide's leak-mistakes list. Keep it clear of drawer slides and hinges, which will pinch a line the first time the drawer closes on it.

The freeze risk is specific and easy to miss. If any part of that run passes along an exterior wall, through an unheated garage wall, or near an uninsulated crawlspace vent, the tubing can freeze solid in cold weather and split — a plastic 1/4-inch line has far less thermal mass than a copper supply pipe and freezes faster for the same outside temperature. Route around exterior walls wherever the floor plan allows it, and where you genuinely can't, wrap the exposed section in pipe insulation or a foam sleeve rather than routing blind and hoping the house stays warm enough. A split line usually shows up as a puddle behind the fridge on the first thaw, not at the moment it happened.

Ice that tastes of nothing, and the cloudy-cube question

Ice made from RO water routinely gets described as tasting like nothing, and that's an accurate description rather than a flaw. Reverse osmosis membranes reject the great majority of dissolved minerals along with the contaminants, and dissolved minerals are a meaningful part of what a palate reads as flavor in water. We go into that mechanism in more detail in our guide to what reverse osmosis does to minerals, but the short version for ice specifically is that flat-tasting cubes are the system working as designed, not malfunctioning.

Cloudiness is a different mechanism, and mostly not a water-quality question at all. Cloudy ice is overwhelmingly a function of how fast the water freezes and how much dissolved air it's carrying, not how many dissolved solids are in it: water freezes from the outside in, and anything that hasn't frozen yet — dissolved air, and to a lesser degree dissolved minerals — gets pushed toward the center of the cube, where it forms the visible white core once it's finally trapped. Slower freezing gives gas more time to escape before it's sealed in, which is why still, degassed water and slow freezing both tend to produce clearer ice, largely independent of whether a membrane touched the water first.

What RO actually changes for cloudiness is smaller than people expect: lower dissolved solids mean less mineral content available to concentrate in that cloudy core, so RO ice is often somewhat clearer than ice made from hard tap water, but it will not reliably produce the fully clear cubes you'd get from directional freezing in a specialty ice mold, because the icemaker's ordinary fill-and-freeze cycle is what it is regardless of the water source feeding it. If genuinely clear ice matters more than a working kitchen icemaker, that's a freezing-method problem to solve, not a filtration one.

What to do when the fridge already has its own filter

Most refrigerators with an icemaker or a water dispenser ship with their own inline filter cartridge — a sediment-and-carbon cartridge rated for chlorine taste and odor, occasionally with a lead or cyst-reduction claim, and not a reverse osmosis membrane. Once an RO system is feeding that same line, the fridge's own filter is filtering water that has already been through a five- or six-stage RO system, so it has very little left to do.

There are two honest options here, not one correct answer. Leaving the stock filter in place is harmless — it's simply redundant — but it adds a second flow restriction on a line already working against distance and elevation, and it still needs its own replacement schedule and its own "change filter" light regardless of what's actually treating the water. Bypassing it, using the plastic bypass plug most manufacturers sell or include for this, removes that restriction and the ongoing cartridge cost, at the price of losing whatever filter reminder your model uses to track it.

Check your refrigerator's manual before deciding either way. A few manufacturers tie warranty language to the filter remaining installed and genuine, and some models won't dispense water or ice at all with an empty filter housing and no bypass plug fitted — you need the actual bypass part, not just an empty slot. And if ice-maker flow has felt sluggish ever since the RO install and you never addressed the stock filter, that stacked restriction is worth ruling out before touching anything upstream of it.

Two-outlet duty

Systems that can carry a fridge line without drama

Picks from our main lineup, framed here for what they ask of a two-outlet install rather than for filtration alone. Prices move on Amazon — confirm before buying.

01Base tank pick

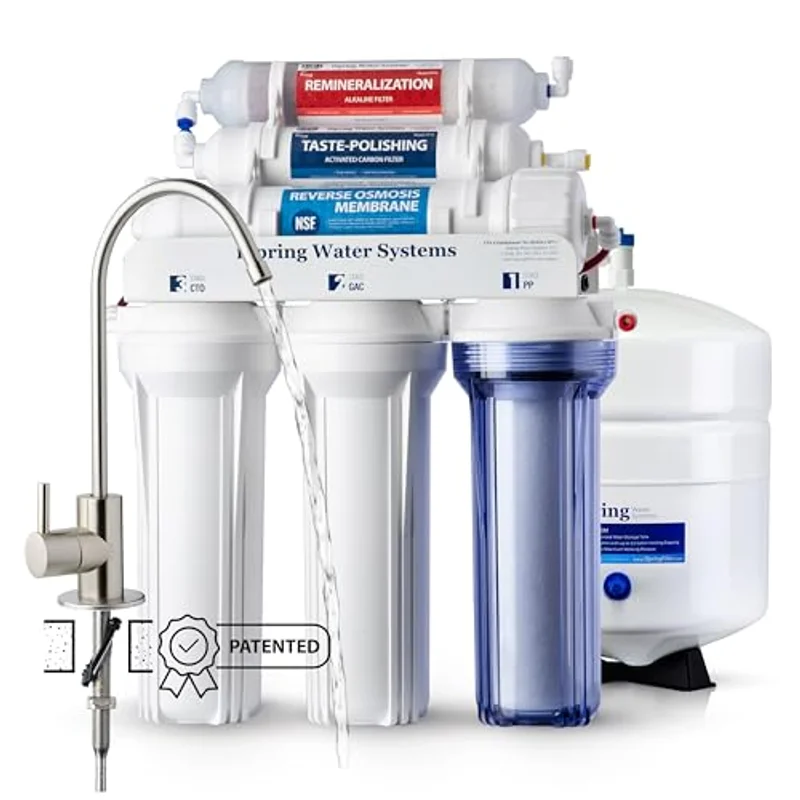
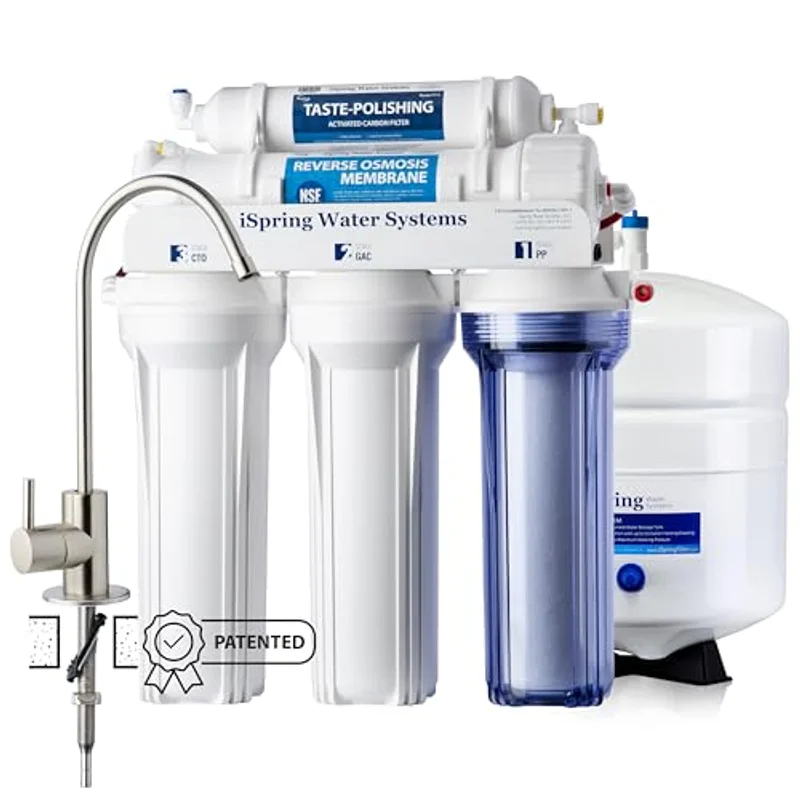
iSpring RCC7-BN

A straightforward 75 GPD tank system to build a fridge branch off
NSF certified · 75 GPD · 5 stages · tank · top-mounted faucet

A conventional five-stage tank system with the patented top-mounted faucet fastener that makes the faucet half of the install easier, whether or not you're also running a line to the fridge. It's the simplest, least expensive of our tank picks, and the pressure and refill-rate limits covered above apply to it exactly as described.

iSpring RCC7-BN 5-stage reverse osmosis system with brushed nickel faucet
$185.22
Tank · 5-stageCheck price →
02Serviceable tank pick

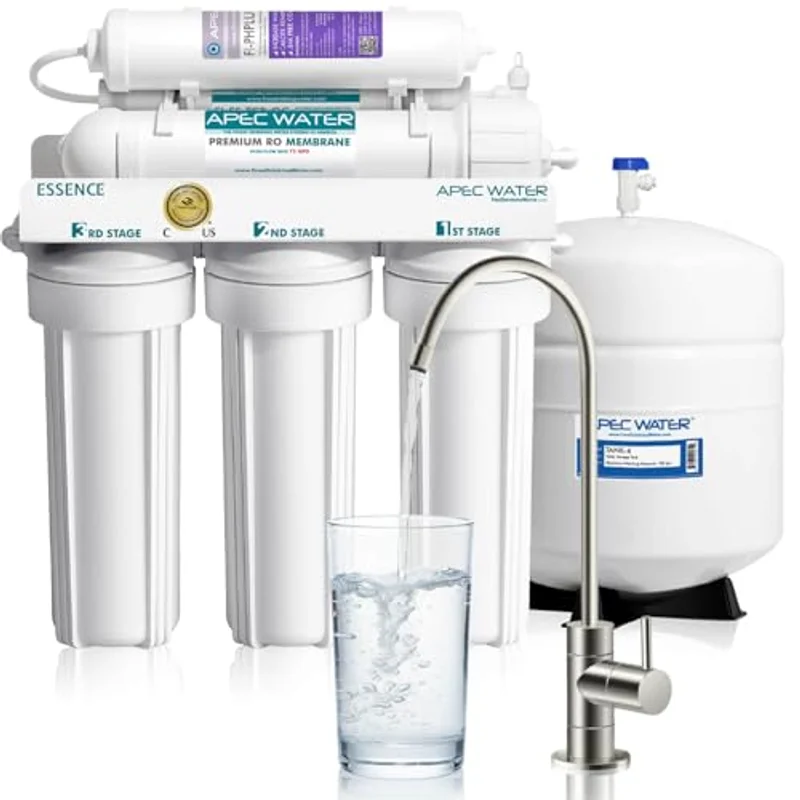
APEC Water ROES-PH75

Standard housings, a wide feed-pressure window, alkaline stage
WQA certified · 75 GPD · 6 stages · alkaline · tank

Heavy standard housings, a published 40–85 psi feed-pressure window, and a calcium remineralization stage. The wide pressure spec is useful context if you're feeding a fridge on a longer run — it tells you the range the system itself is built to accept, though it says nothing about what actually survives to the fridge end of the branch.

APEC Water ROES-PH75 6-stage alkaline reverse osmosis system
$189.99
Tank · alkalineCheck price →
03Easiest faucet, tank

iSpring RCC7AK-BN

NSF/ANSI 58 as a whole system, transparent first housing
NSF/ANSI 58 · 75 GPD · 6 stages · alkaline · tank

Certified to NSF/ANSI 58 as a complete system rather than on individual components, with a transparent first housing that lets you watch the sediment load — a small but genuinely useful signal on a system that's now also running a longer, harder-working line out to a fridge. Same top-mounted faucet fastener as the RCC7-BN.

iSpring RCC7AK-BN 6-stage alkaline reverse osmosis system
$234.99
Tank · 6-stageCheck price →
04Tankless pick

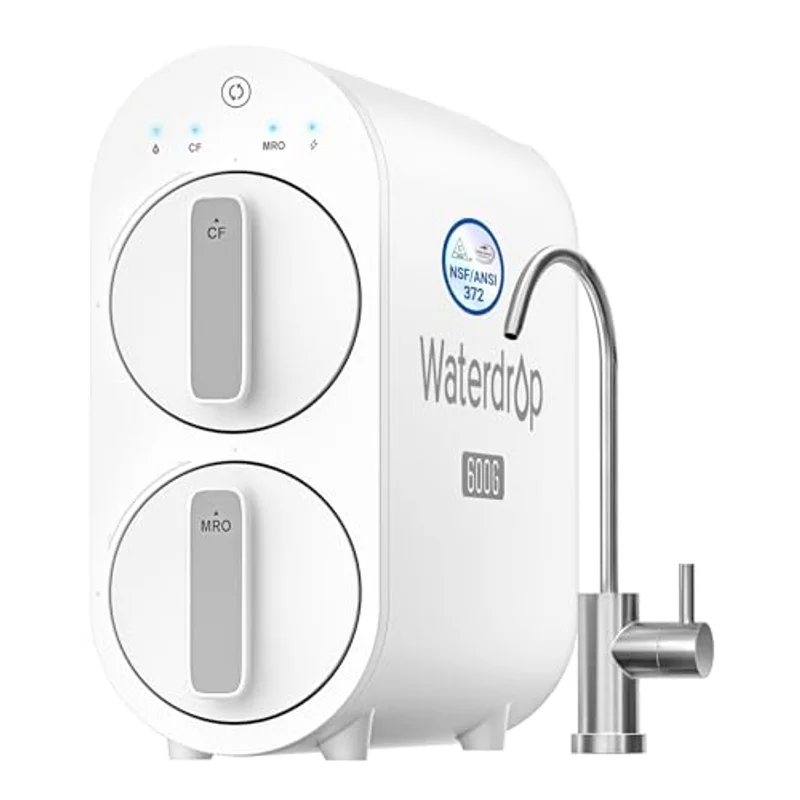
Waterdrop G2P600

No tank, no shared-reserve problem — but it needs an outlet
NSF/ANSI 372 · 600 GPD · 2:1 drain · tankless

Produces water on demand instead of storing it, so the fridge and the faucet draw from the same instantaneous production rather than competing for what's left in a tank — the most direct answer to the tank-sharing problem described above. It requires under-sink electricity to run its pump, which is the one condition worth confirming before you buy it for this purpose.

Waterdrop G2P600 tankless under-sink reverse osmosis system
$289
Tankless · 600 GPDCheck price →
FAQ

Questions people ask before wiring a fridge into RO

Can any under-sink RO system feed a refrigerator?

Technically, yes — the tee-and-tubing connection is the same regardless of system. Whether it feeds it well is a different question. A 75 GPD tank system can run a fridge line comfortably on a short, low run, but the same simultaneous faucet-and-icemaker demand that a short run shrugs off can starve a longer, higher one. A tankless system with a higher GPD rating, such as the Waterdrop G2P600, tends to be more forgiving on longer runs because it isn't sharing a fixed tank reserve.

Do I need a permeate pump to feed a fridge line?

Only sometimes, and only on tank systems. A permeate pump helps a tank refill faster and more efficiently when incoming pressure is marginal or a long branch line adds resistance — it does nothing on a tankless system, which has no tank to fill, and it doesn't fix low pressure at the moment of simultaneous draw. Check your incoming pressure with a hose-bib gauge before assuming you need one.

Why is my icemaker slow or intermittent after adding an RO system?

The most common cause is a tank system's pressure dropping as it draws down while the kitchen faucet and the icemaker's inlet valve are both open at once. The second most common cause is simple distance and elevation loss over a long, multi-turn tubing run. The third is a fridge's own inline filter adding a second flow restriction on top of both. Check them in that order.

Should I remove my fridge's built-in filter after installing RO?

You can, using the manufacturer's own bypass plug, and it removes a redundant flow restriction along with an ongoing cartridge cost. Read your fridge's manual first: some models tie warranty terms to the filter staying installed, and some won't dispense water or ice at all without either the cartridge or a proper bypass plug in place.

Keep reading

Next, if you're setting this up