The install, step by step
Read all nine steps before starting the first. The faucet goes on before the plumbing, because the cabinet is friendlier to work in before three lines run through it.
1. Shut off the water and drain the cold line
Close the cold angle stop, open the kitchen faucet on cold, let it run dry. Clear the cabinet completely — you'll be putting your weight on that floor — and lay a towel with a tray under the shut-off. If the base is particleboard the towel isn't optional; a few drops live in that board forever.
2. Dry-fit the layout before connecting anything
Put the system, and the tank if there is one, where they'll live. Check the door closes, the shut-offs stay reachable, and every tubing run reaches without stretching or kinking round a corner. Five minutes here prevents finding, with everything connected, that the door fouls the tank.
3. Mount the faucet
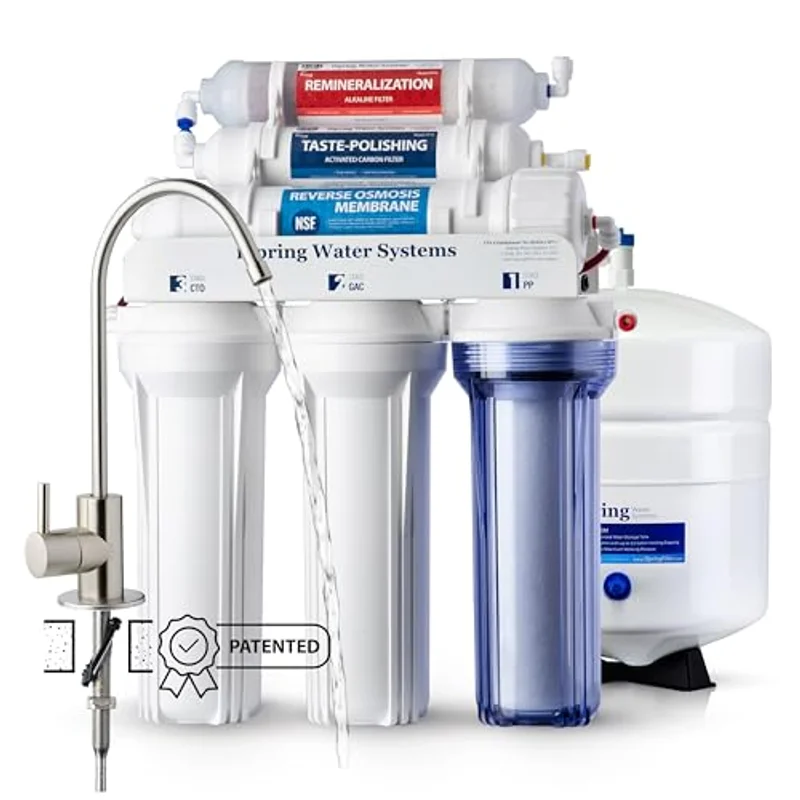
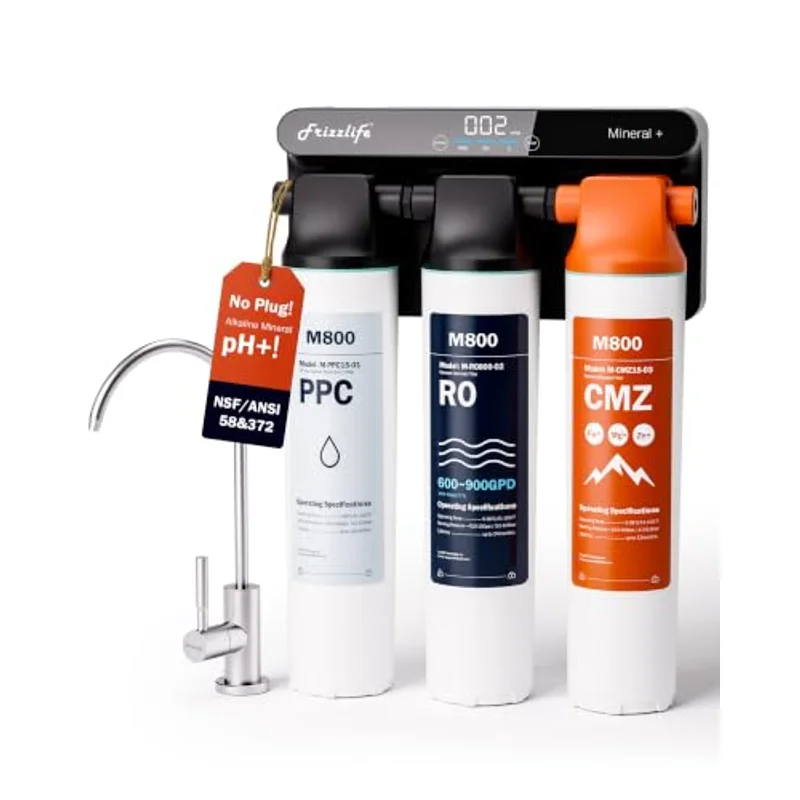
Drop the shank through the hole with the rubber washer above the deck and the escutcheon flat, then fit the friction washer and nut from below while holding the spout on aim — faucets rotate on the last turn. Snug, then a small nudge; you're compressing a washer, not torquing a wheel nut. On the iSpring systems you tighten from above instead.
4. Install the feed valve on the cold supply
Disconnect the cold riser from the angle stop, thread the feed adapter onto the stop, reconnect the riser above it. Tapered metal threads get two or three wraps of PTFE tape in the direction of tightening; compression joints and anything sealing on a rubber washer get none. Tighten until it stops turning easily, plus a quarter turn. Leave the adapter's ball valve closed for now.
5. Fit the drain saddle
Two rules govern position. It goes on the tailpiece above the trap — below it, the trap's water seal no longer separates your kitchen from the sewer. And on a sink with a garbage disposal, never on the disposal body and never directly opposite its discharge outlet, where food slurry packs the small hole solid within weeks.
Clamp the halves loosely with the gasket against the pipe, mark through the guide hole, unclamp, drill a 1/4-inch hole through one wall of the pipe only, deburr it, then reassemble with the gasket hole exactly over the drilled one. Tighten the bolts alternately — running one down first crushes a plastic tailpiece out of round.
6. Mount the housings or the unit
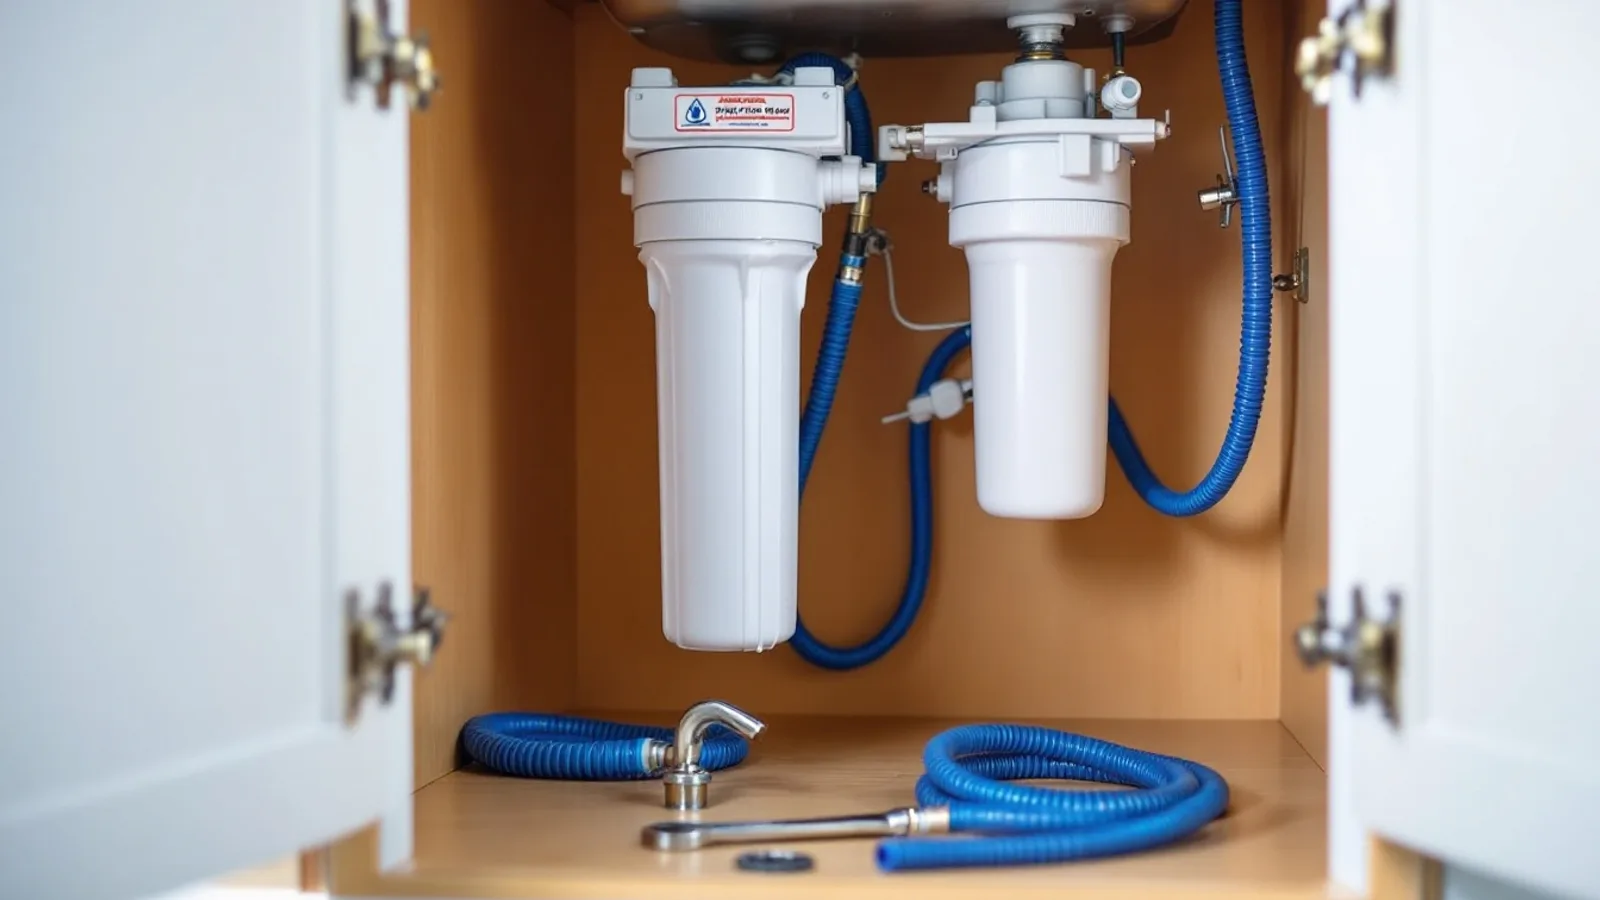
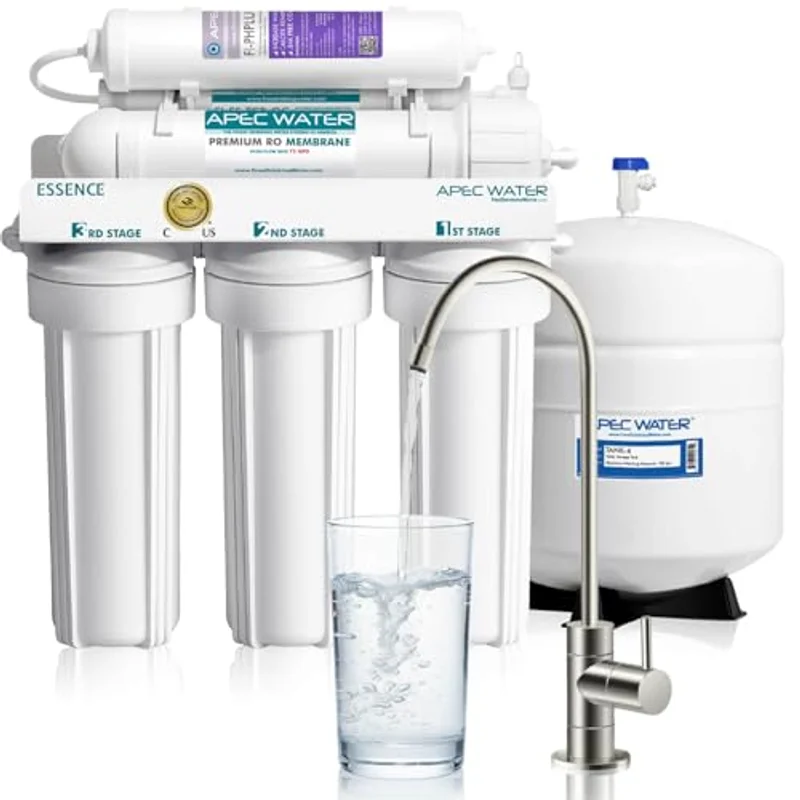
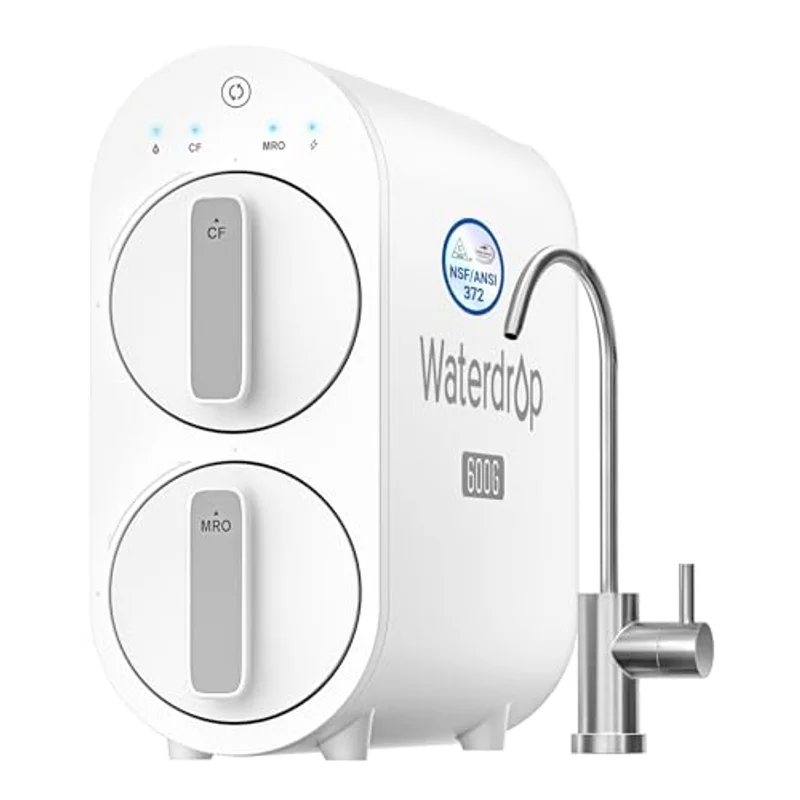
A conventional system like the APEC ROES-PH75 arrives as a bracketed bank of standard 10-inch housings that screws to the cabinet side wall. Leave about four inches of clearance below the sumps so a housing wrench can swing at filter-change time. The tank stands on the floor; tankless units stand upright against a side wall.
7. Cut and connect the tubing
Cut each length square with a tubing cutter, not at a slant with a utility knife. Push the tube straight into the quick-connect until it stops — deeper than it feels, typically about half an inch past the collet — then pull firmly on it. That tug test is the entire quality-control process for a push-fit joint. On a compression fitting, slide the nut on first, then the ferrule, and seat the tube fully before tightening; a ferrule is one-way. Fit any supplied collet clips.
8. Open the feed slowly and check every joint
Open the angle stop, then the feed adapter's ball valve a quarter turn, wait, and open the rest. On a tank system open the tank valve too. Then do nothing for a few minutes but look. Run a dry fingertip round every joint — feed adapter, saddle, each housing collar, faucet shank, tank port. Water finds the one you rushed, and any weep gets fixed now, while everything is dry.
9. Flush the system before you drink anything
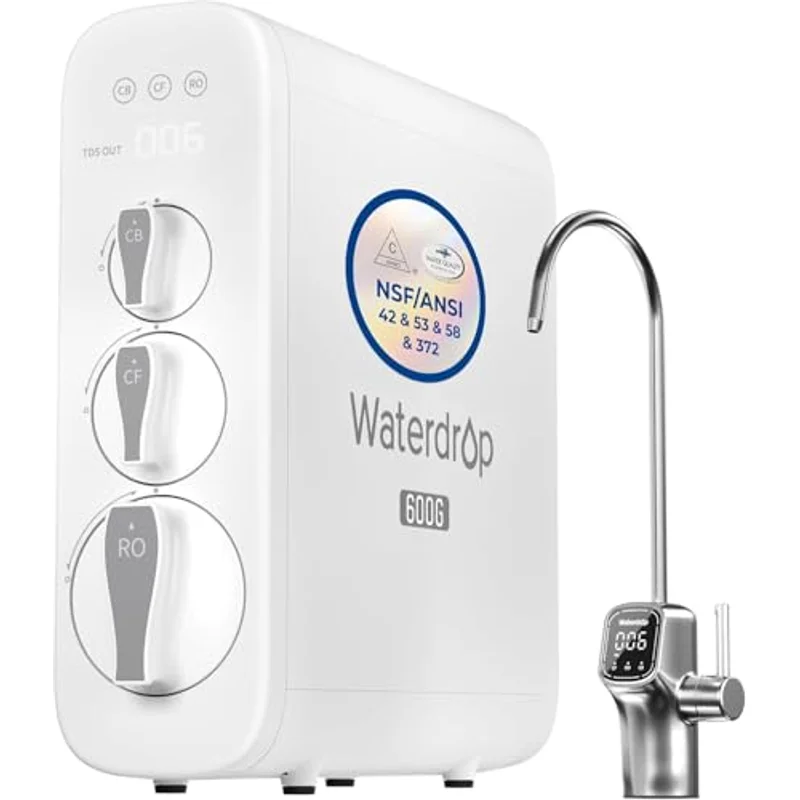
New membranes and carbon blocks ship with preservative and carbon fines, so the first water looks cloudy or tastes of carbon. On a tank system, fill and completely dump the first two tank-fills — open the faucet, empty the tank, close it, wait for the refill, repeat. At 75 GPD that is a few hours, so start in the morning. On a tankless unit like the Waterdrop G3P600 or G2P600, run the flush cycle and let the display settle; the TDS reading means nothing until the membrane has wetted out.