Best RO Systems
HomeGuidesStorage tank explained
Guide

The RO storage tank: pressure, size, and why yours runs out

We're reader-supported: buying through our links may earn us a commission at no extra cost to you. We compare published specifications, certifications and prices — we don't run a testing lab.

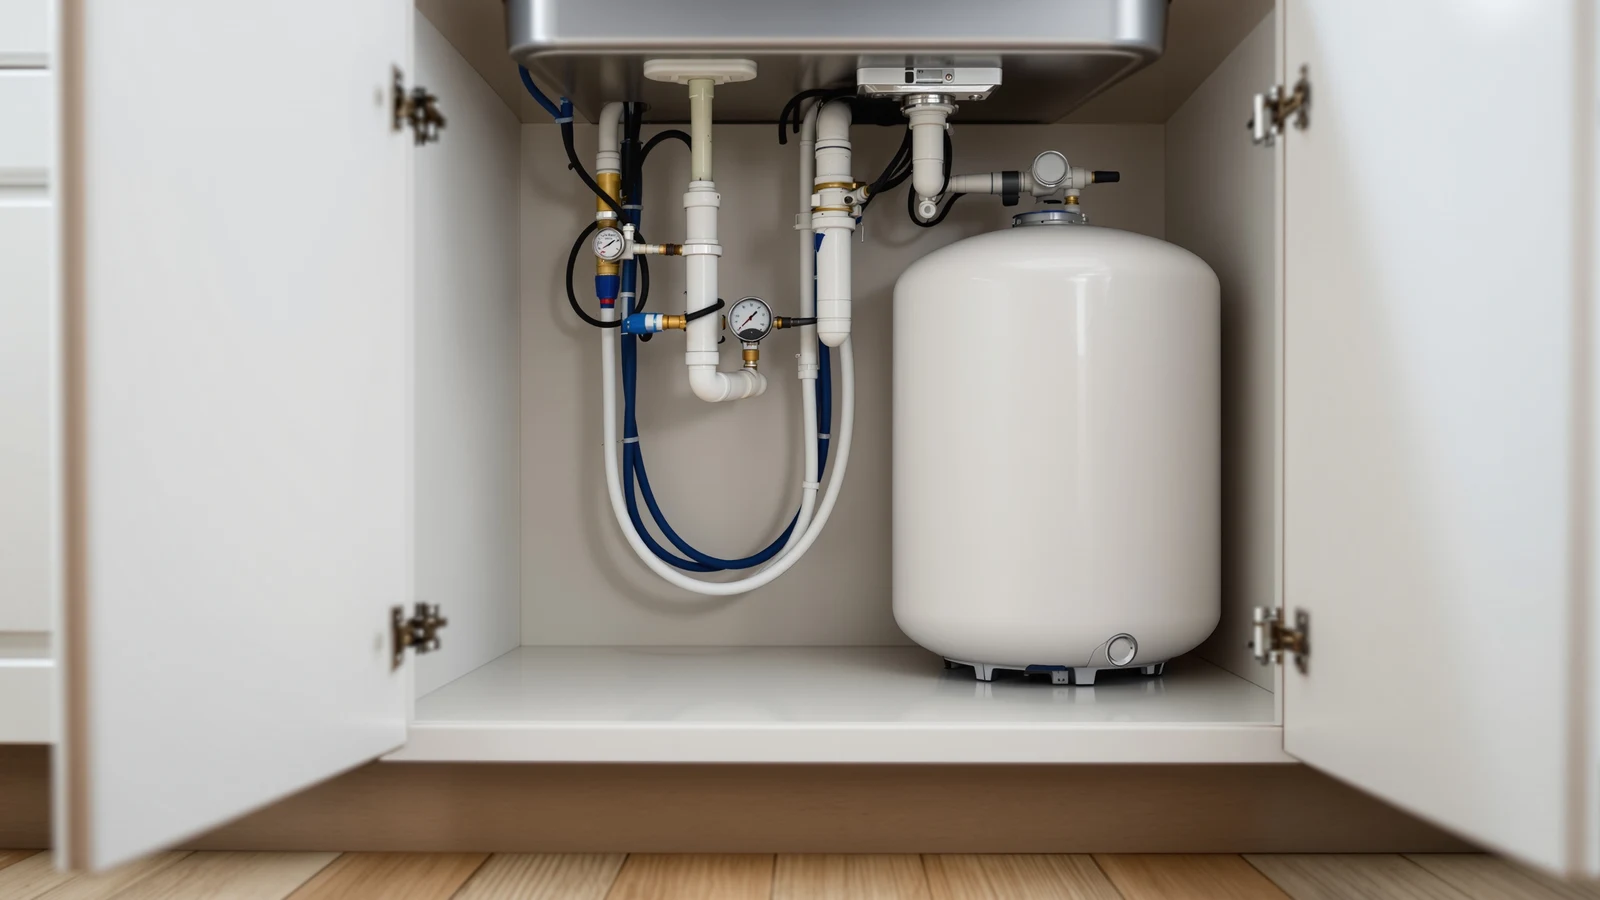
Reverse osmosis storage tank installed under a kitchen sink alongside filter housings, showing the tank's air valve and outlet fitting

Somewhere on the side of your reverse osmosis tank, in raised plastic letters, is a number: 3.2 gallons, 4 gallons, sometimes as high as 11. It is the first spec anyone quotes when they're comparing systems, and it is close to useless on its own, because a "four-gallon" tank was never going to hand you four gallons at the faucet. On a typical residential setup, you get roughly two and a half — a little more on a good day, noticeably less if the tank is old or under-charged. This is not a defect. It is how the tank was designed to work, and understanding why turns a lot of "my RO system is so slow" complaints into a five-minute pressure check instead of a wasted service call.

The gap comes down to one part almost nobody thinks about: the pocket of compressed air sealed inside the tank, on the other side of a rubber diaphragm or bladder from the water. That air is what pushes your water out to the faucet — reverse osmosis systems don't have a pump moving water to the tap, so without that stored pressure you'd get nothing but a trickle limited to whatever your house's incoming line pressure can force through a skinny faucet line. The tradeoff is that the same air cushion caps how much water the tank can ever hold, long before it reaches its stamped volume.

The physics in one paragraph

Picture the tank empty of water, sitting at its pre-charge pressure — factory-set, typically in the 5 to 7 psi range for the small diaphragm tanks used under a sink. As your RO membrane slowly produces permeate, that water pushes into the tank and compresses the air pocket. Compressing a gas raises its pressure (this is Boyle's Law, the same relationship that governs a bicycle pump), so the more water goes in, the harder the air pushes back. Eventually the tank pressure climbs high enough to equal the membrane's own operating pressure, and production essentially stops — the membrane simply can't push any more permeate against that resistance. That equilibrium point is almost never anywhere close to a physically full tank.

Industry convention treats 50 to 65 percent of the stamped volume as a realistic usable draw for a standard residential tank at a healthy pre-charge, feeding from typical low-pressure RO membranes. A 4-gallon tank giving you about 2.5 usable gallons sits right in that band — around 62 percent. A 3.2-gallon tank, common on compact under-sink kits, nets closer to 1.5 to 2 gallons. None of the products discussed later in this guide publish a specific usable-capacity figure separate from the stamped tank size, and neither do most manufacturers — which is exactly why this math is worth doing yourself before you assume a bigger number on the box means a bigger pour at the tap.

It matters more than it sounds like it should for anything that draws water in a hurry. If you've connected your RO line to a refrigerator ice maker, the ice maker and a filled water pitcher can empty a small tank's usable reserve in one go, and the system then needs time — often thirty minutes to a couple of hours — to slowly refill against house pressure before the next draw is back to full strength.
Air bladders, pre-charge pressure, and how to check yours

Two constructions show up in residential RO tanks, and the terms get used loosely, so it's worth being precise about what's actually inside. A bladder tank has a balloon-like rubber bladder that holds the air charge, suspended inside the steel or plastic shell, with water filling the space around it. A diaphragm tank instead has a single flexible diaphragm sealed across the middle of the tank, splitting it into a permanent air chamber on one side and a water chamber on the other. Functionally, for the purpose of this guide, they fail the same way and are diagnosed and recharged the same way, so we'll use "bladder" as the general term the way most manufacturers and installers do.

The pre-charge is set at the factory, but it doesn't stay put forever. Rubber is not perfectly airtight — air molecules slowly migrate through the bladder wall over months and years, and temperature swings under a sink (a dishwasher running next to it, a cold snap in an unheated basement) cause the trapped air to expand and contract, which accelerates the drift. A tank that shipped at 7 psi can quietly settle to 3 or 4 psi after a few years of normal use, and every drop in pre-charge pressure eats directly into the usable capacity calculated above, because the air pocket reaches equilibrium with the membrane sooner.

Checking it takes five minutes and a tire gauge

You don't need anything specialized. A standard automotive tire pressure gauge reads this valve just as accurately as it reads a car tire, because it's the same type of valve — a Schrader valve, usually capped in plastic or metal, on the bottom or side of the tank near the base.

  1. Shut off the feed water to the RO system at its inlet valve, then open the RO faucet and let it run until it sputters and stops. The tank has to be completely empty of water for this reading to mean anything — checking a partly full tank gives you a falsely high number, because the water still inside is adding its own pressure on top of the air charge.
  2. Unscrew the valve cap and press a tire gauge onto the stem the same way you would on a bicycle or car tire.
  3. Read the number. For most small residential undersink tanks, a healthy empty pre-charge sits around 5 to 7 psi — noticeably lower than a well-pump pressure tank, which typically runs 20 to 40 psi. If your tank or system documentation specifies a different figure, that number takes precedence over the general range.
  4. Replace the cap snugly — a loose cap is a slow, silent leak path in its own right.

Do this check once a year, or any time flow at the faucet has started feeling weaker than it used to. It costs nothing and it's the single most informative five minutes you can spend on a system that seems to be underperforming.

01

Flow dies almost immediately

A healthy tank gives a strong pour that gradually tapers as it empties. A bladder that's lost its charge gives you a weak stream, or none, from the very first second at the faucet — there's no stored pressure left to push with.

02

The faucet spits air

Sputtering, coughing, or air bubbling out alongside the water is one of the clearest tells that the air side of the tank has lost its seal and is mixing with the water side.

03

A "full" tank feels wrong

Lift or press on the tank. One that feels heavy and sloshes with liquid even after you've run the faucet dry has water-logged — the bladder has likely ruptured and the tank is now holding almost all water and no air cushion at all.

04

The system short-cycles

A membrane that seems to run constantly, or a drain line that never quite goes quiet, can mean the tank isn't holding back-pressure the way it should, so the system keeps trying to refill a tank that won't stay full. Cross-check against our troubleshooting guide for leaks and noises before assuming it's the tank.

Recharging a tank, step by step

If the pressure check above showed a low but even reading — no water hissing or dripping out of the air valve when you press the gauge on — the bladder is very likely intact and simply needs air. That's a genuine do-it-yourself fix.

  1. Close the feed valve. This is the shutoff on the cold-water line supplying the RO system's pre-filter or membrane housing — usually a small valve, sometimes a saddle valve, mounted right where the system taps into your plumbing.
  2. Drain the tank fully. Open the RO faucet and leave it open until the flow sputters to nothing. This depressurizes the water side completely, which you need before adjusting the air side.
  3. Find the air valve. Look on the bottom or side of the tank for a small plastic or metal cap, identical in principle to a tire valve stem cap. Remove it.
  4. Read the current pressure with a standard tire gauge, exactly as described above.
  5. Add air in small amounts. Using a hand or foot bicycle pump — a household air compressor works too, at low output — add short bursts of air, checking with the gauge between each one, until you reach the target pre-charge for an empty tank. For most residential undersink tanks that's roughly 5 to 7 psi; follow the number printed on your specific tank or in its documentation if one is available.
  6. Don't overshoot. Too much pre-charge pressure works against you just as much as too little — it can prevent the tank from accepting water at all, since the membrane may never build enough pressure to overcome an over-charged air side.
  7. Cap the valve, reopen the feed, close the faucet, and let the system refill. It will take longer than usual the first time, since it's filling from empty against a freshly set pre-charge.
  8. Write the date somewhere on the tank — a strip of tape and a marker is enough. It turns "is this normal drift" into a five-second lookup next time flow feels off.

If, instead, you heard air hissing out with the water still in the line, or water itself came out of the air valve when you pressed the gauge on, stop — that's a ruptured bladder, not a pressure problem, and no amount of pumping will fix it. That takes you to the next section.

If you're shopping instead of repairing

Three tank-based systems worth knowing

All three below are conventional pressurized-tank systems — not tankless units — so everything in this guide about pre-charge and bladders applies to them the same way it applies to the system already under your sink.

015-stage

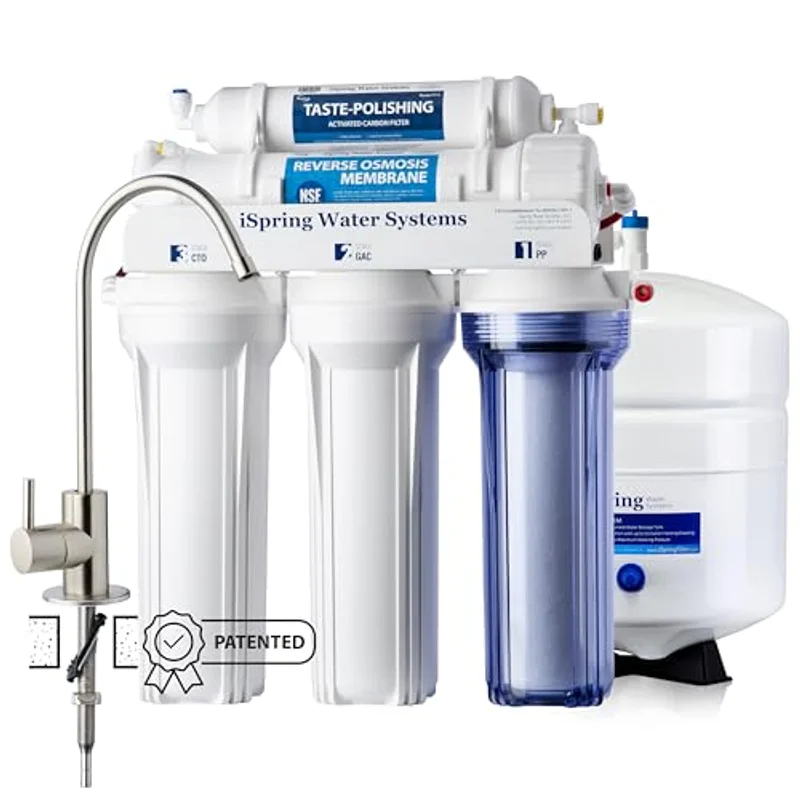
iSpring RCC7-BN

NSF certified, brushed nickel faucet
NSF certified · 75 GPD · 5 stages · top-mounted faucet

A high-capacity 5-stage under-sink system rated at 75 gallons per day, with a top-mounted faucet fastener that lets you tighten the fit from above the sink deck rather than lying underneath it. Standard tank-and-housings layout, so the pre-charge check earlier in this guide is exactly the maintenance step to build into its schedule.

iSpring RCC7-BN 5-stage under sink reverse osmosis system with brushed nickel faucet
$219.96
5-stage · tankCheck price →
02Highest output

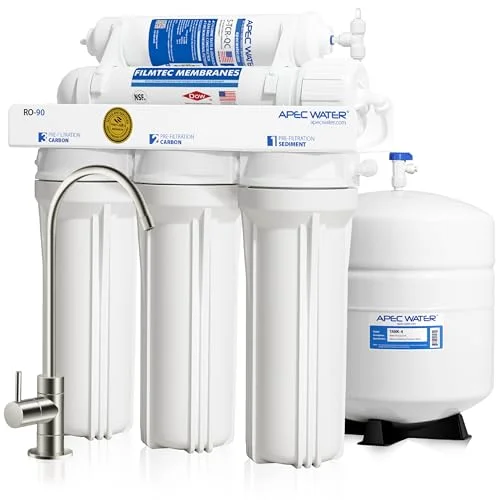
APEC Water RO-90

The most gallons per day of this group
90 GPD · 5 stages · under-sink · chrome

APEC's RO-90 is rated for 90 gallons a day, ahead of the other two picks here — meaningful if your household draws heavily on the tank between refills, since a higher-output membrane refills a depleted tank faster after the kind of big draw discussed at the start of this guide.

APEC Water RO-90 5-stage under sink reverse osmosis system
$219.99
5-stage · tankCheck price →
03Alkaline

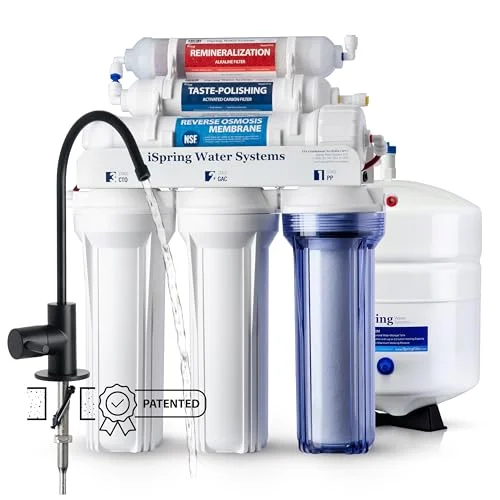
iSpring RCC7AK-BLK

Adds minerals back after the membrane
NSF/ANSI 58 · 6 stages · pH+ remineralization · black faucet

The same RCC7 platform with a sixth, alkaline stage added, certified to NSF/ANSI 58 and putting minerals back into the water after the membrane strips them out — see our guide to remineralization filters for what that stage does and doesn't change about the water. Certification specifics are covered in our NSF 58 vs NSF 372 explainer if you want to know exactly what that badge is testing for.

iSpring RCC7AK-BLK alkaline 6-stage reverse osmosis system with black faucet
$249.99
6-stage · alkalineCheck price →

When replacing the tank is cheaper than fighting it

A stuck-but-intact bladder is worth recharging — it's free, it takes five minutes, and it usually works. A ruptured one is not worth chasing. Once the bladder has torn, air and water mix freely no matter how much you pump into the valve, and the tank will keep water-logging within hours of a recharge. At that point you're choosing between a standalone replacement tank and a full system swap, and the honest answer is that it depends on the age of everything else under the sink, not just the tank.

A tank is a commodity part on the standard sizes used by systems like the three above, and sourcing an exact physical and thread match for an older or discontinued system can turn into more hunting than the part itself is worth — bracket styles, tank-outlet thread sizes and mounting footprints all vary enough between brands that "close enough" sometimes isn't. If the membrane, housings and faucet are also several years old, a failed tank is frequently the symptom that shows up first while the rest of the system is quietly approaching the end of its useful life at the same time.

That's the actual calculation worth running: price a standalone tank plus your time against a complete system in the same range as the picks above, all of which land between roughly $220 and $250. If the gap between "replacement tank" and "replacement system" is small, the system wins, because you also reset the clock on a membrane and housings you'd likely be replacing within a year or two anyway. Our roundup of systems under $250 is the wider version of that comparison if you want more than three options.

One more thing worth knowing before you decide: this entire failure mode — a bladder losing pressure or rupturing — doesn't exist on tankless RO systems, which produce water on demand using a pump instead of storing pressurized output. If a failing tank is the second or third time you've dealt with this on the same system, our guide to the best tankless reverse osmosis systems covers the alternative that sidesteps the problem entirely, at the cost of needing a nearby outlet.

FAQ

Common questions

Why doesn't my four-gallon tank deliver four gallons?

Because part of that stamped volume is permanently reserved for the compressed-air pocket that pushes water to your faucet. As water enters the tank it compresses that air, and once the tank's internal pressure rises to match the membrane's operating pressure, the membrane stops producing. For a standard residential tank at a healthy pre-charge, that equilibrium typically lands around 50 to 65 percent of the stamped volume — roughly 2.5 usable gallons out of a nominal 4.

What pressure should my RO tank be at?

Checked empty, most small residential undersink tanks should read around 5 to 7 psi at the air valve — noticeably lower than a well-pump pressure tank, which runs 20 to 40 psi. Always defer to the figure printed on your specific tank or its documentation if one is available, and always check with the tank fully drained of water, since a partly full tank reads artificially high.

How do I know if my tank's bladder has failed?

Four signals, usually together: flow that's weak or absent from the first second at the faucet rather than tapering off gradually, air sputtering out with the water, a tank that feels heavy and sloshes with liquid even after you've run the faucet until it's dry, and a system that seems to run or cycle far more than it used to. Water or a hissing sound coming out of the air valve itself when you check pressure confirms a rupture rather than a simple pressure drop.

Can I recharge a tank myself, or do I need a plumber?

You can almost always do it yourself. It requires closing the feed valve, draining the tank through the faucet, and adding air at the tank's Schrader valve with an ordinary tire or bicycle pump and a tire gauge — the same tools and skills used to check a car tire. A plumber becomes worth calling only if the bladder itself has ruptured, since that requires replacing the tank rather than adjusting its pressure.

Keep reading

Next, if the tank isn't your only question